Custom Challenge Coin Satisfy your needs
Designing and producing a custom challenge coin can be a fun and creative process! For those both suppliers and consumers who have just entered the industry,How to make the challenge coin could be a tough issue. Here’s a step-by-step guide to help you finish the event:
1. Conceptualize the Theme:
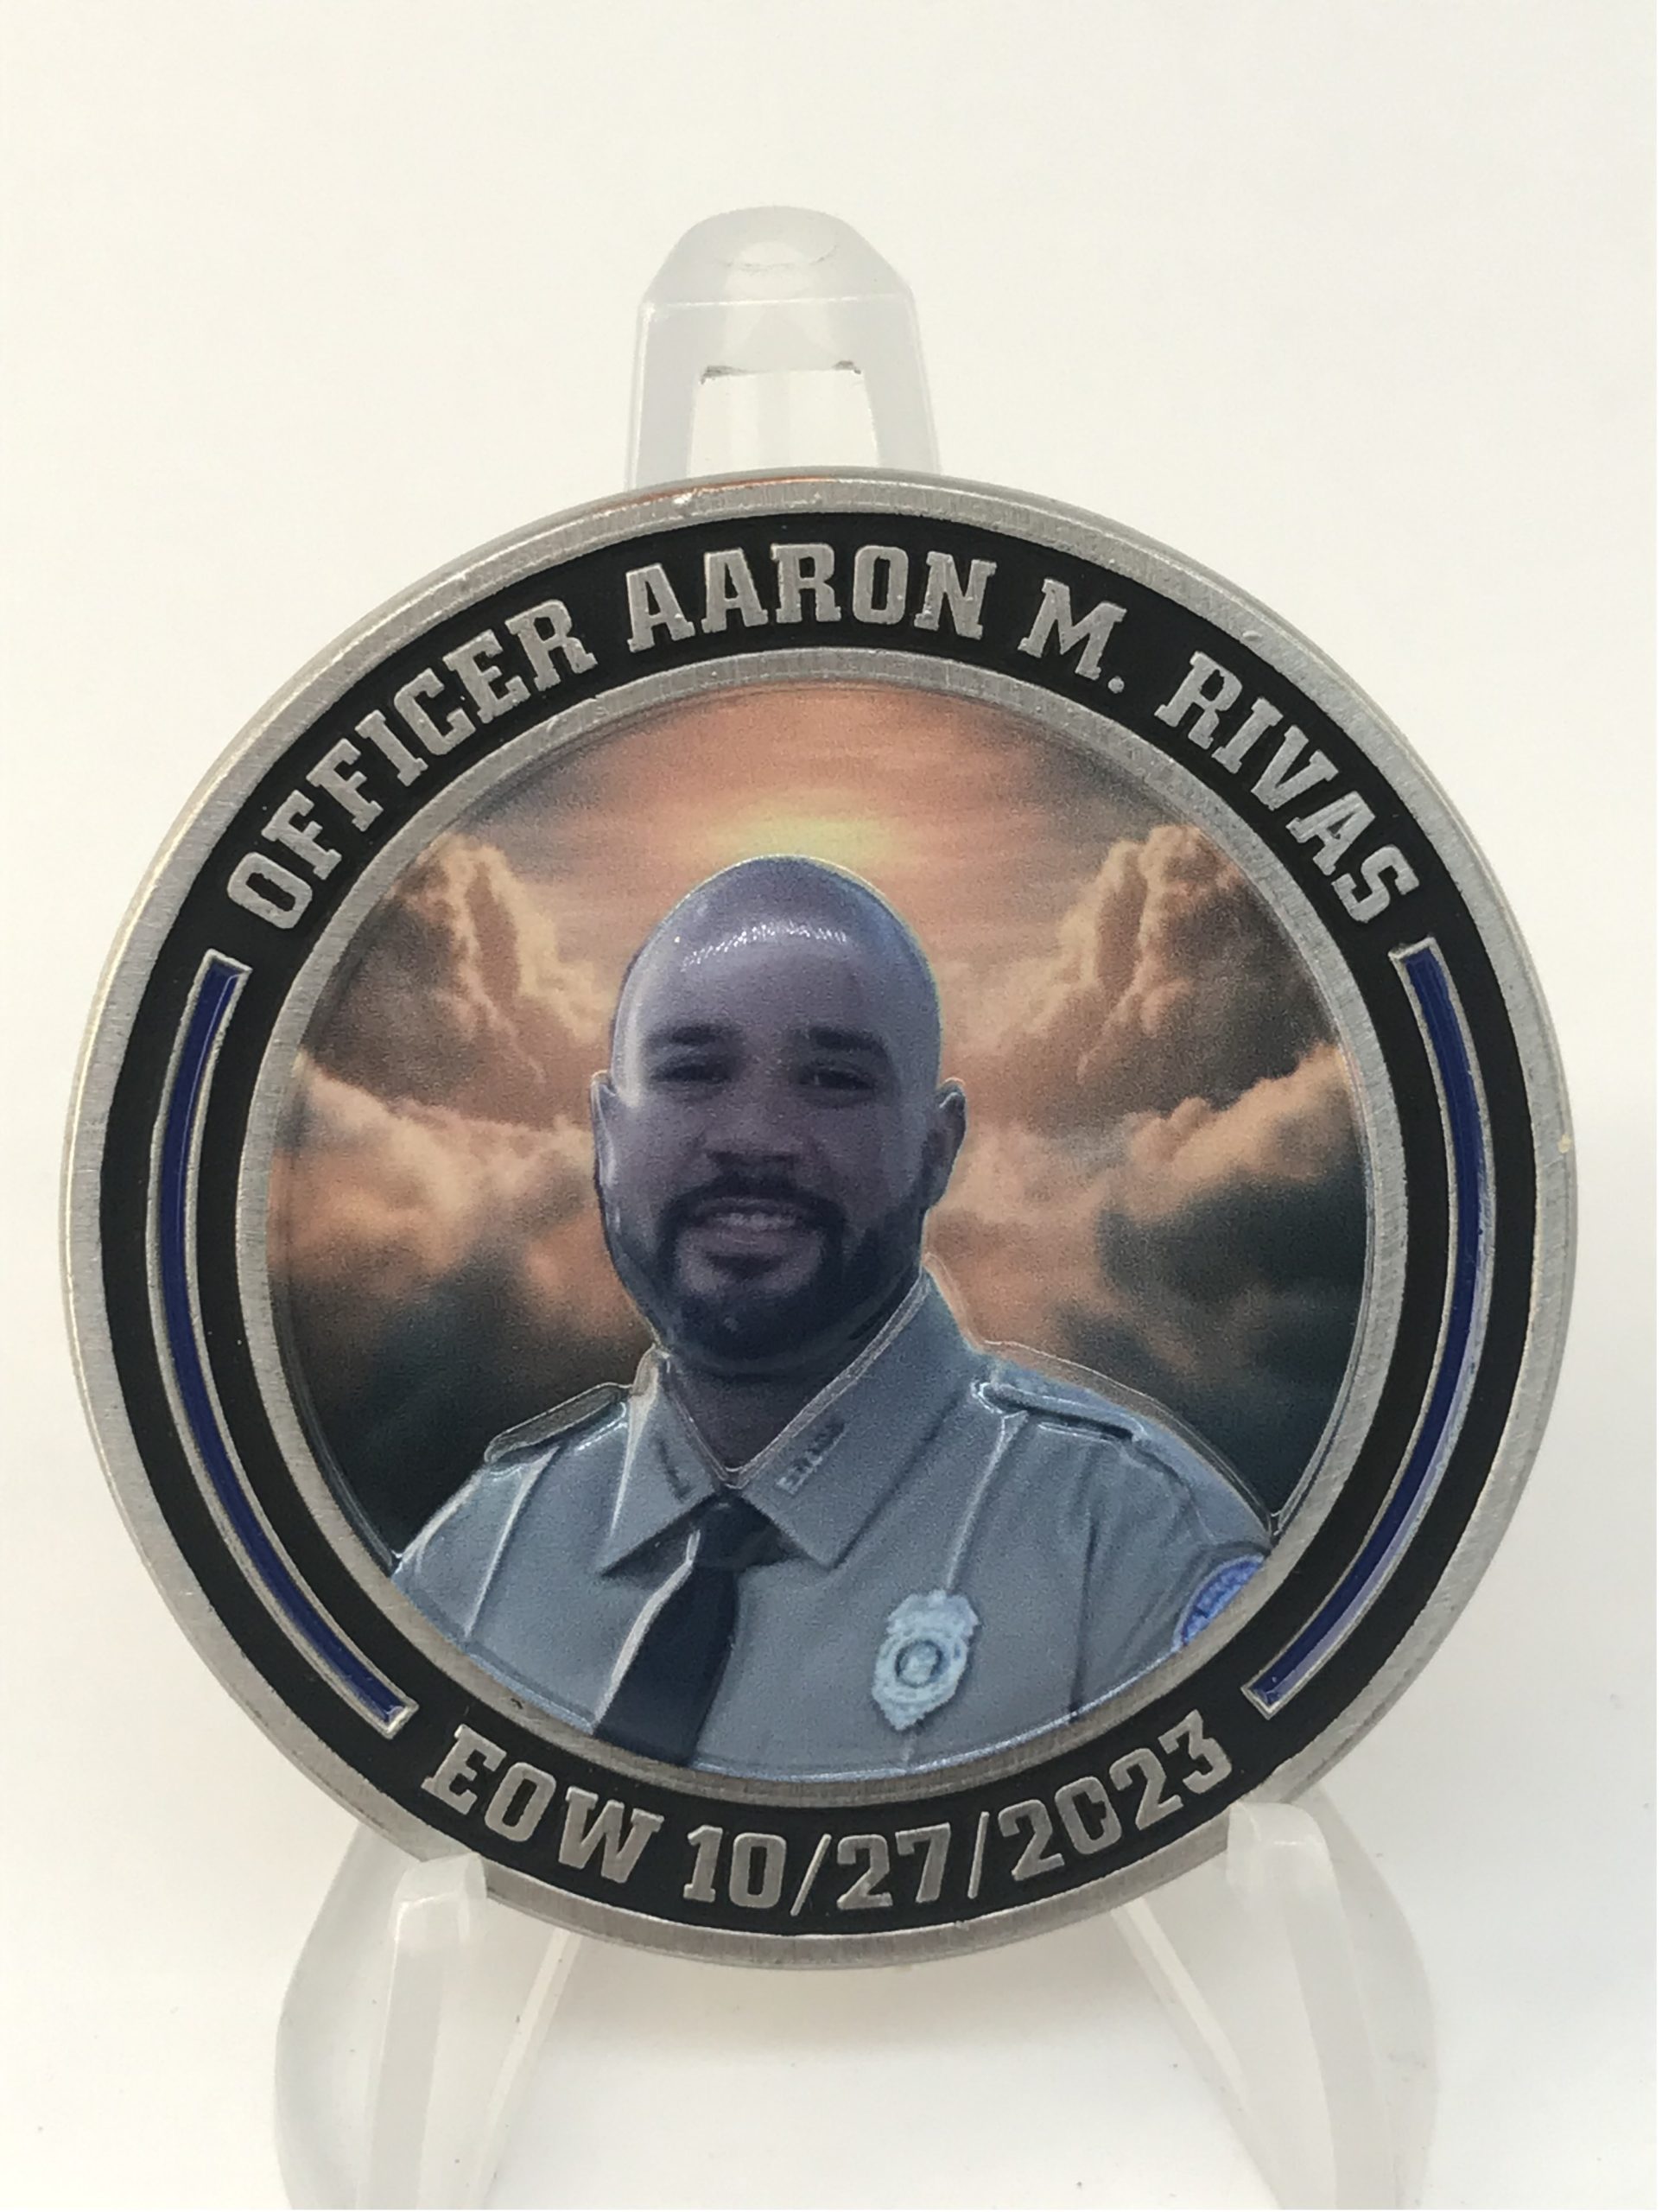
Purpose: Consider why you’re designing the coin. Is it for a specific event, Memorial, organization, or personal use?
Theme: Choose a theme that aligns with the purpose. For example, if it’s for an anniversary, the design might include dates and symbols related to the event.
Organization or team characteristics
If the challenge coin is designed for an organization or team, the theme can be conceived around the history, culture, mission and values of the organization.
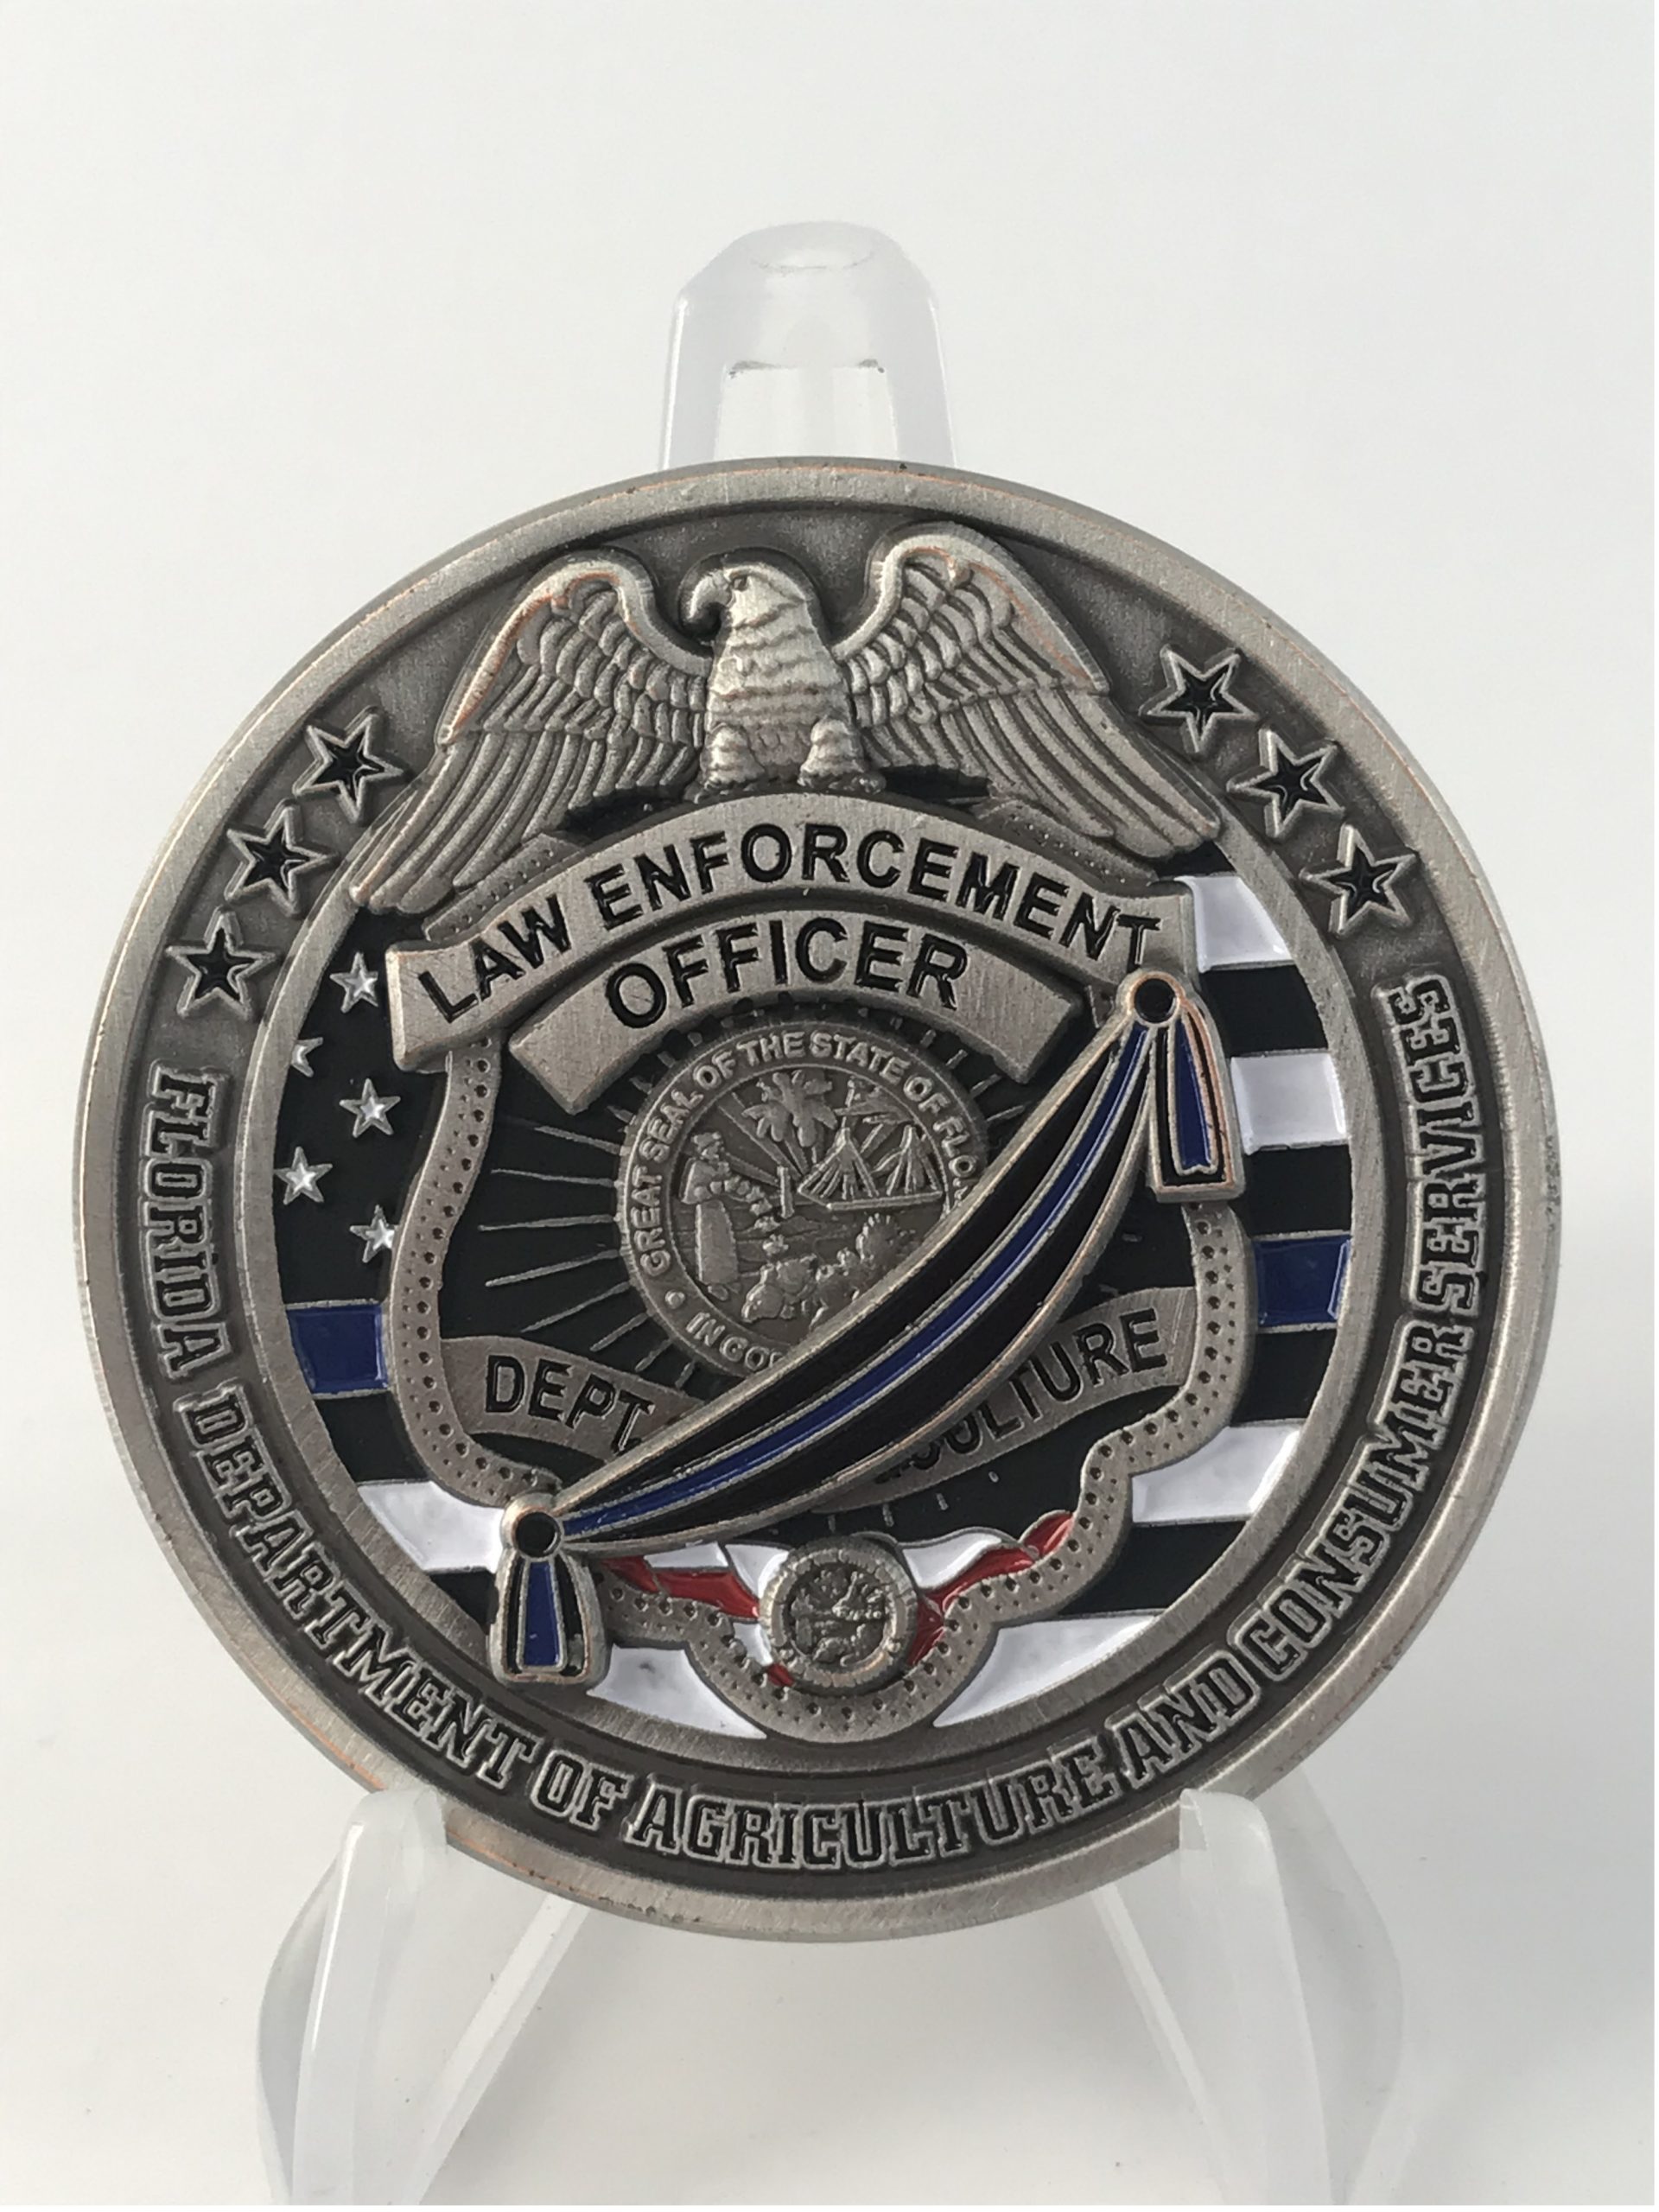
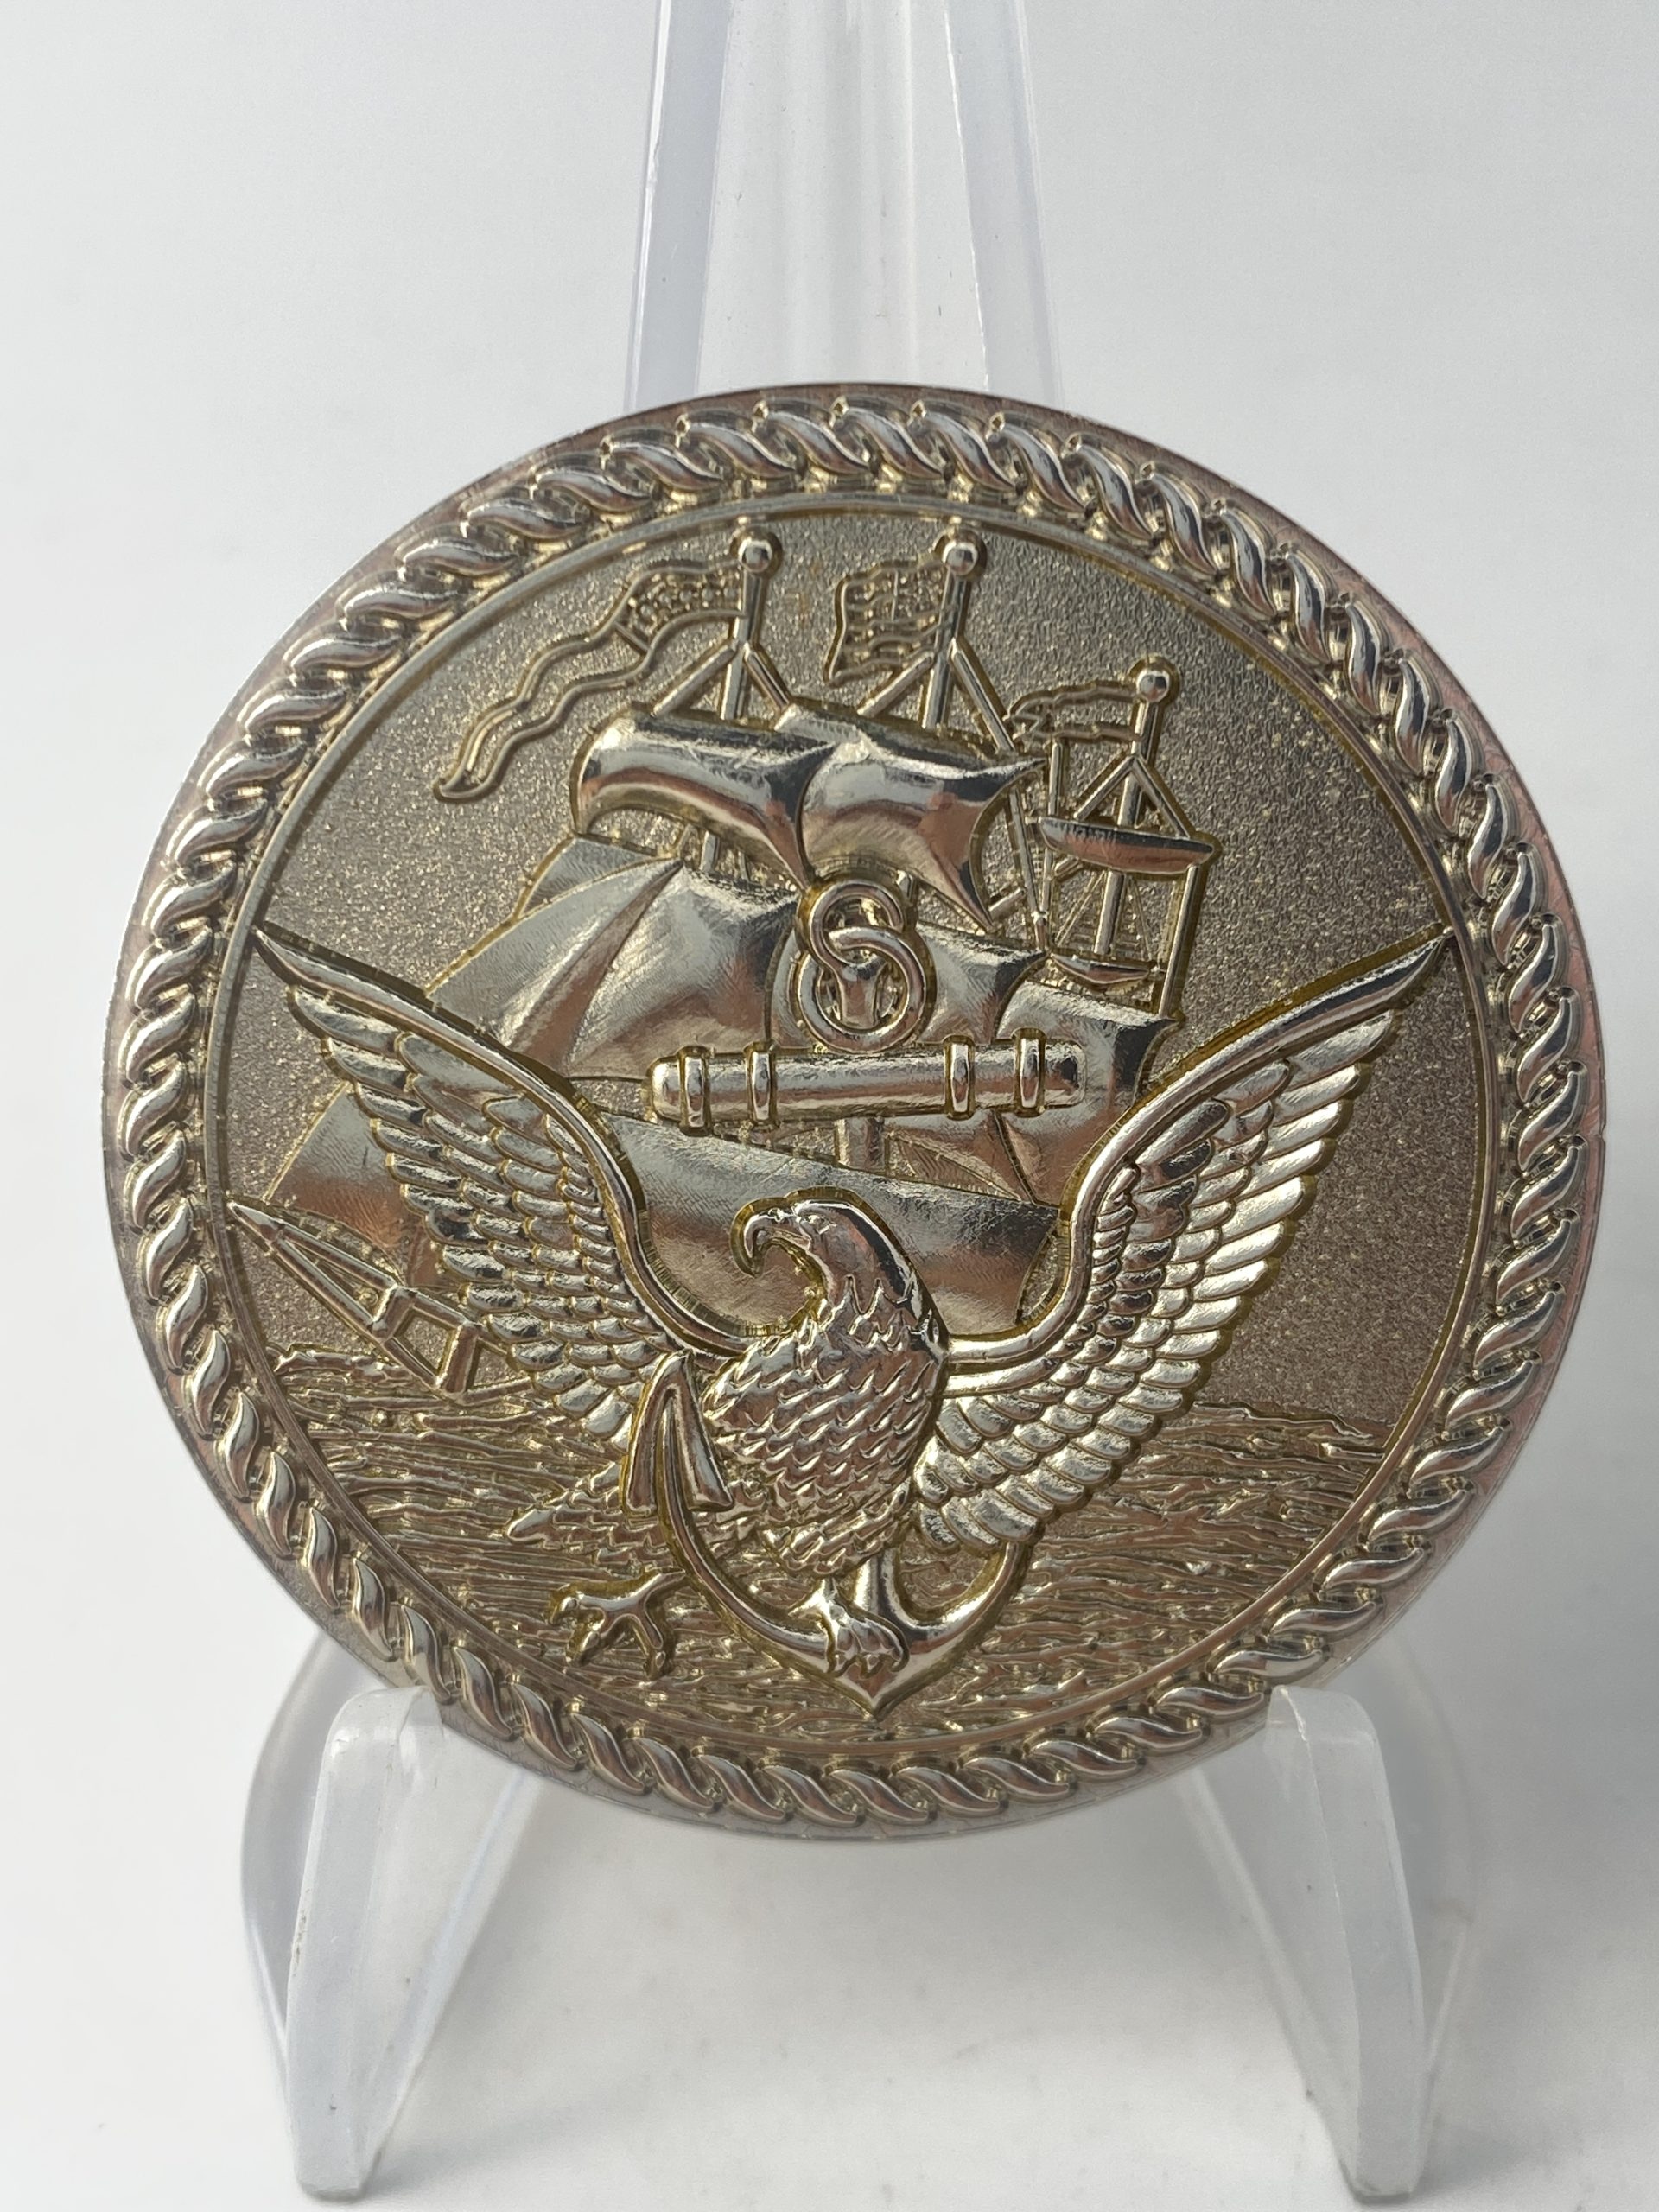
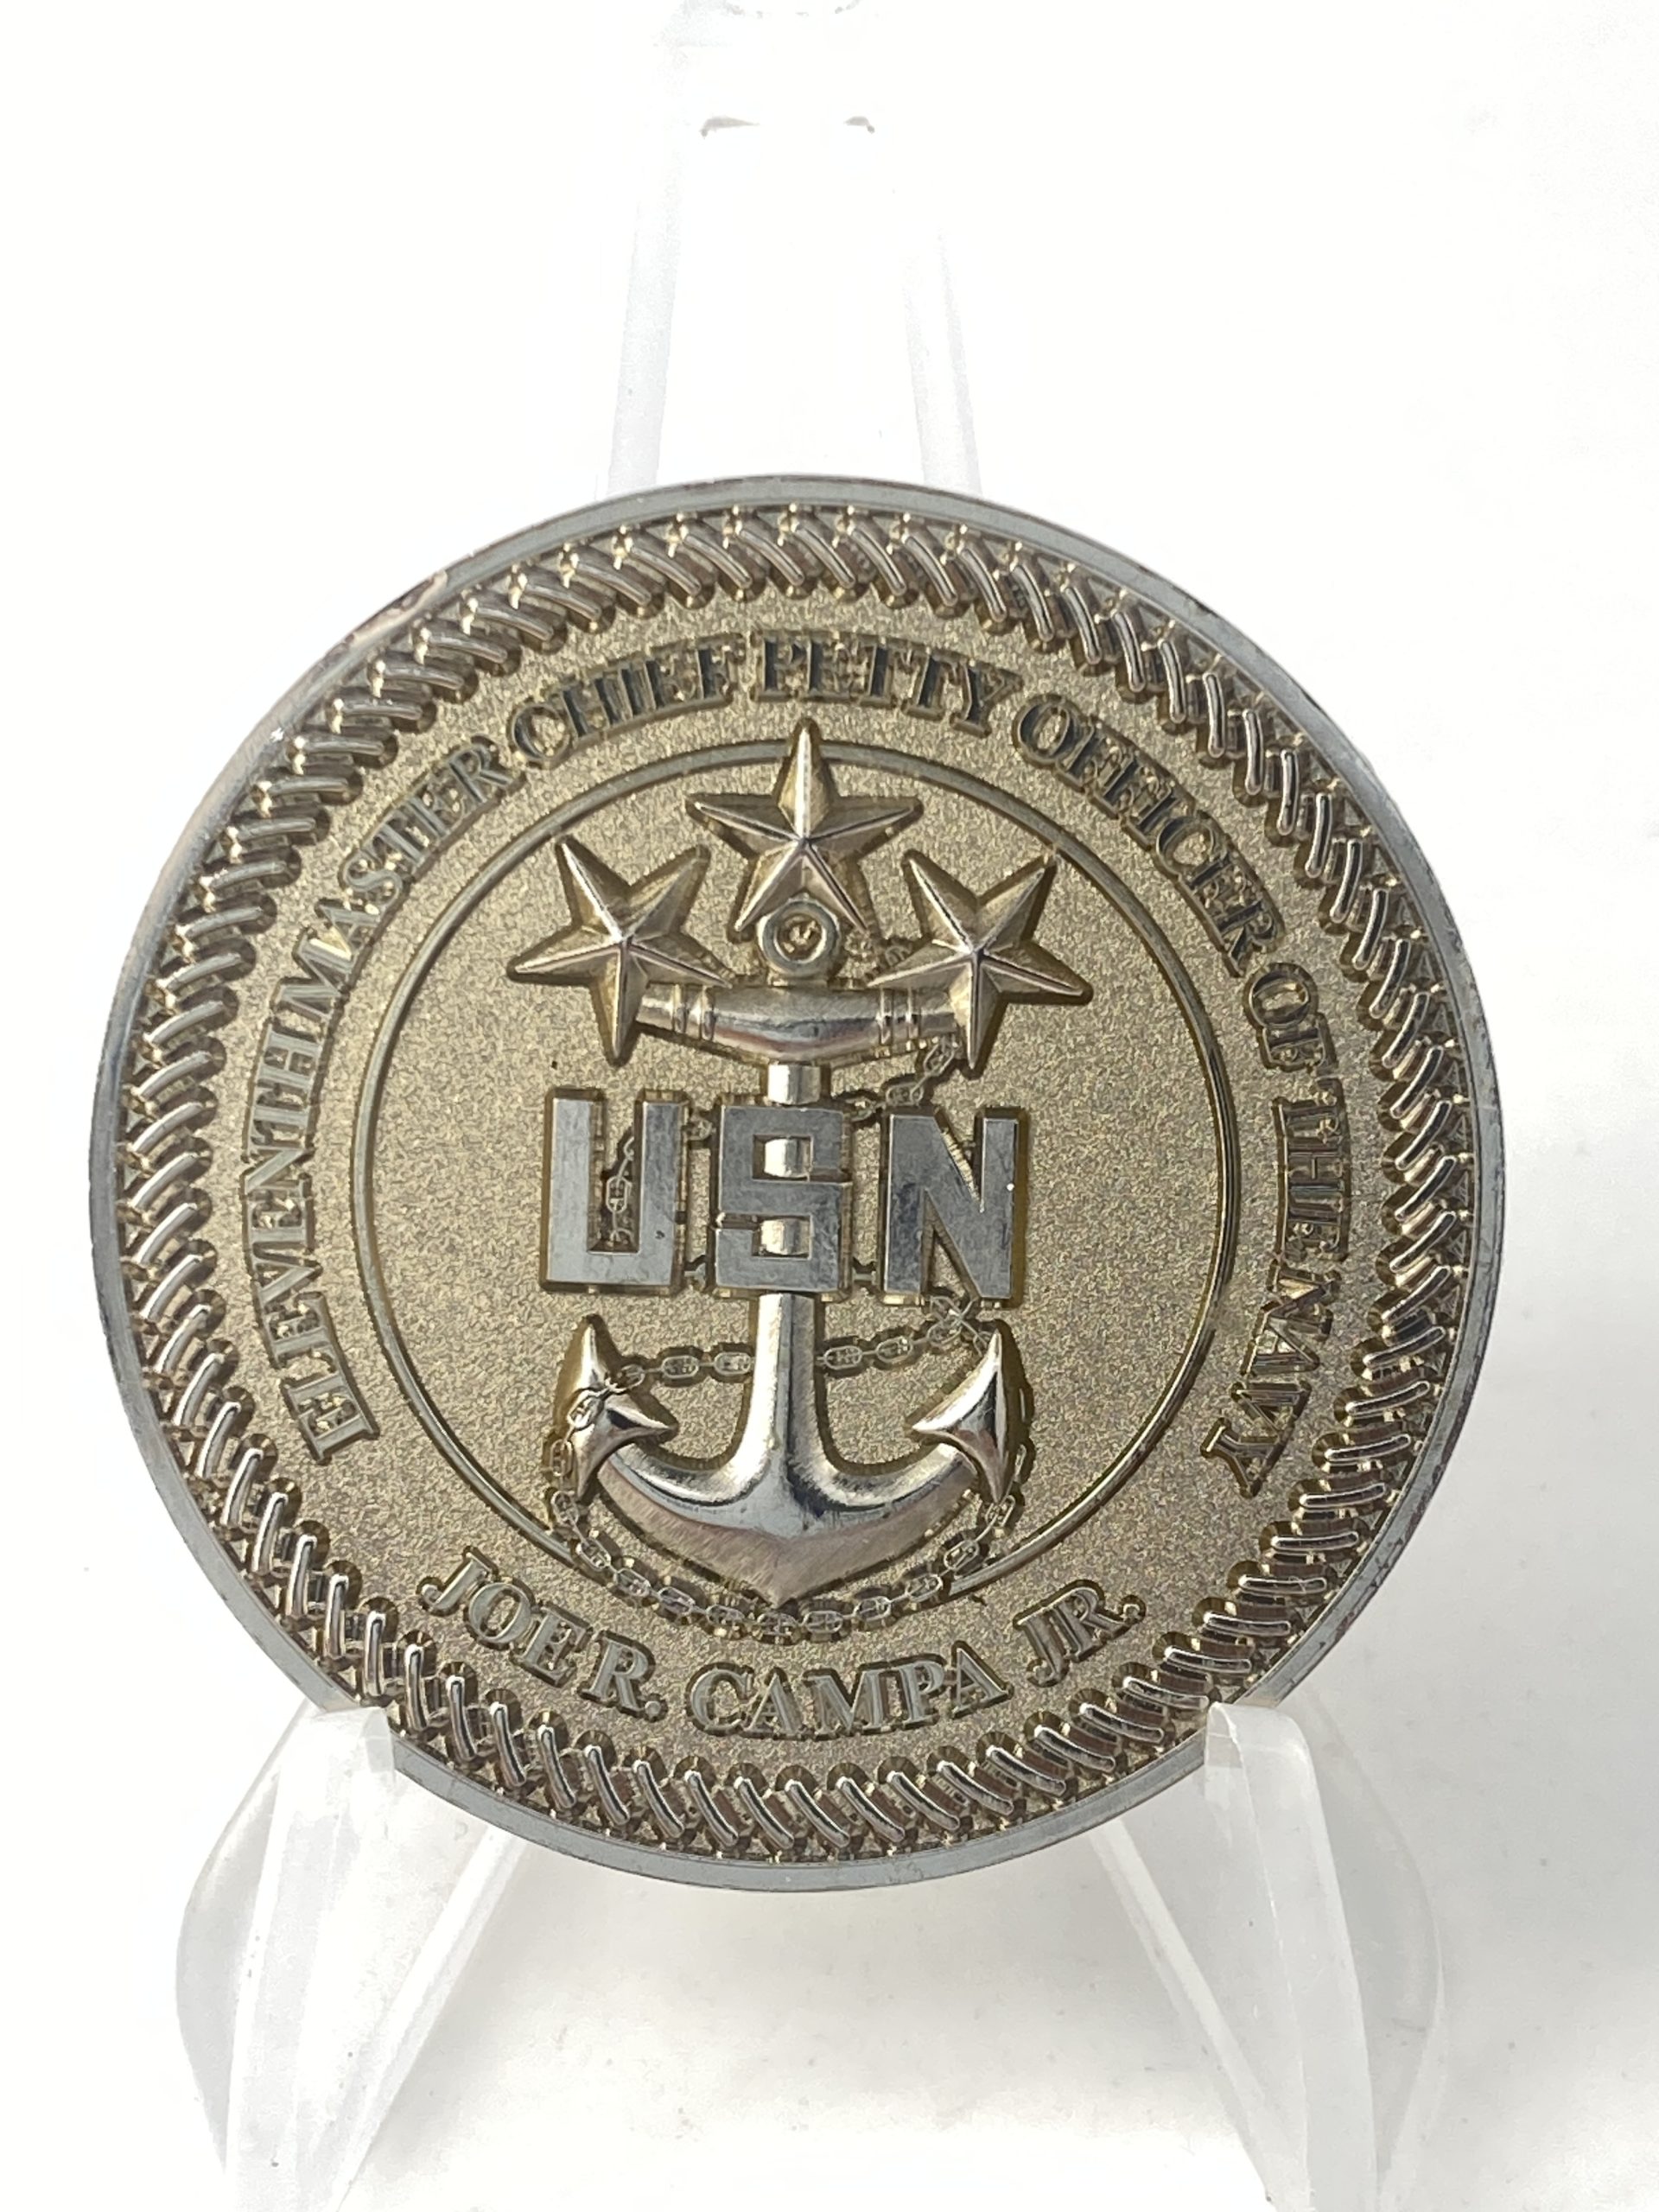
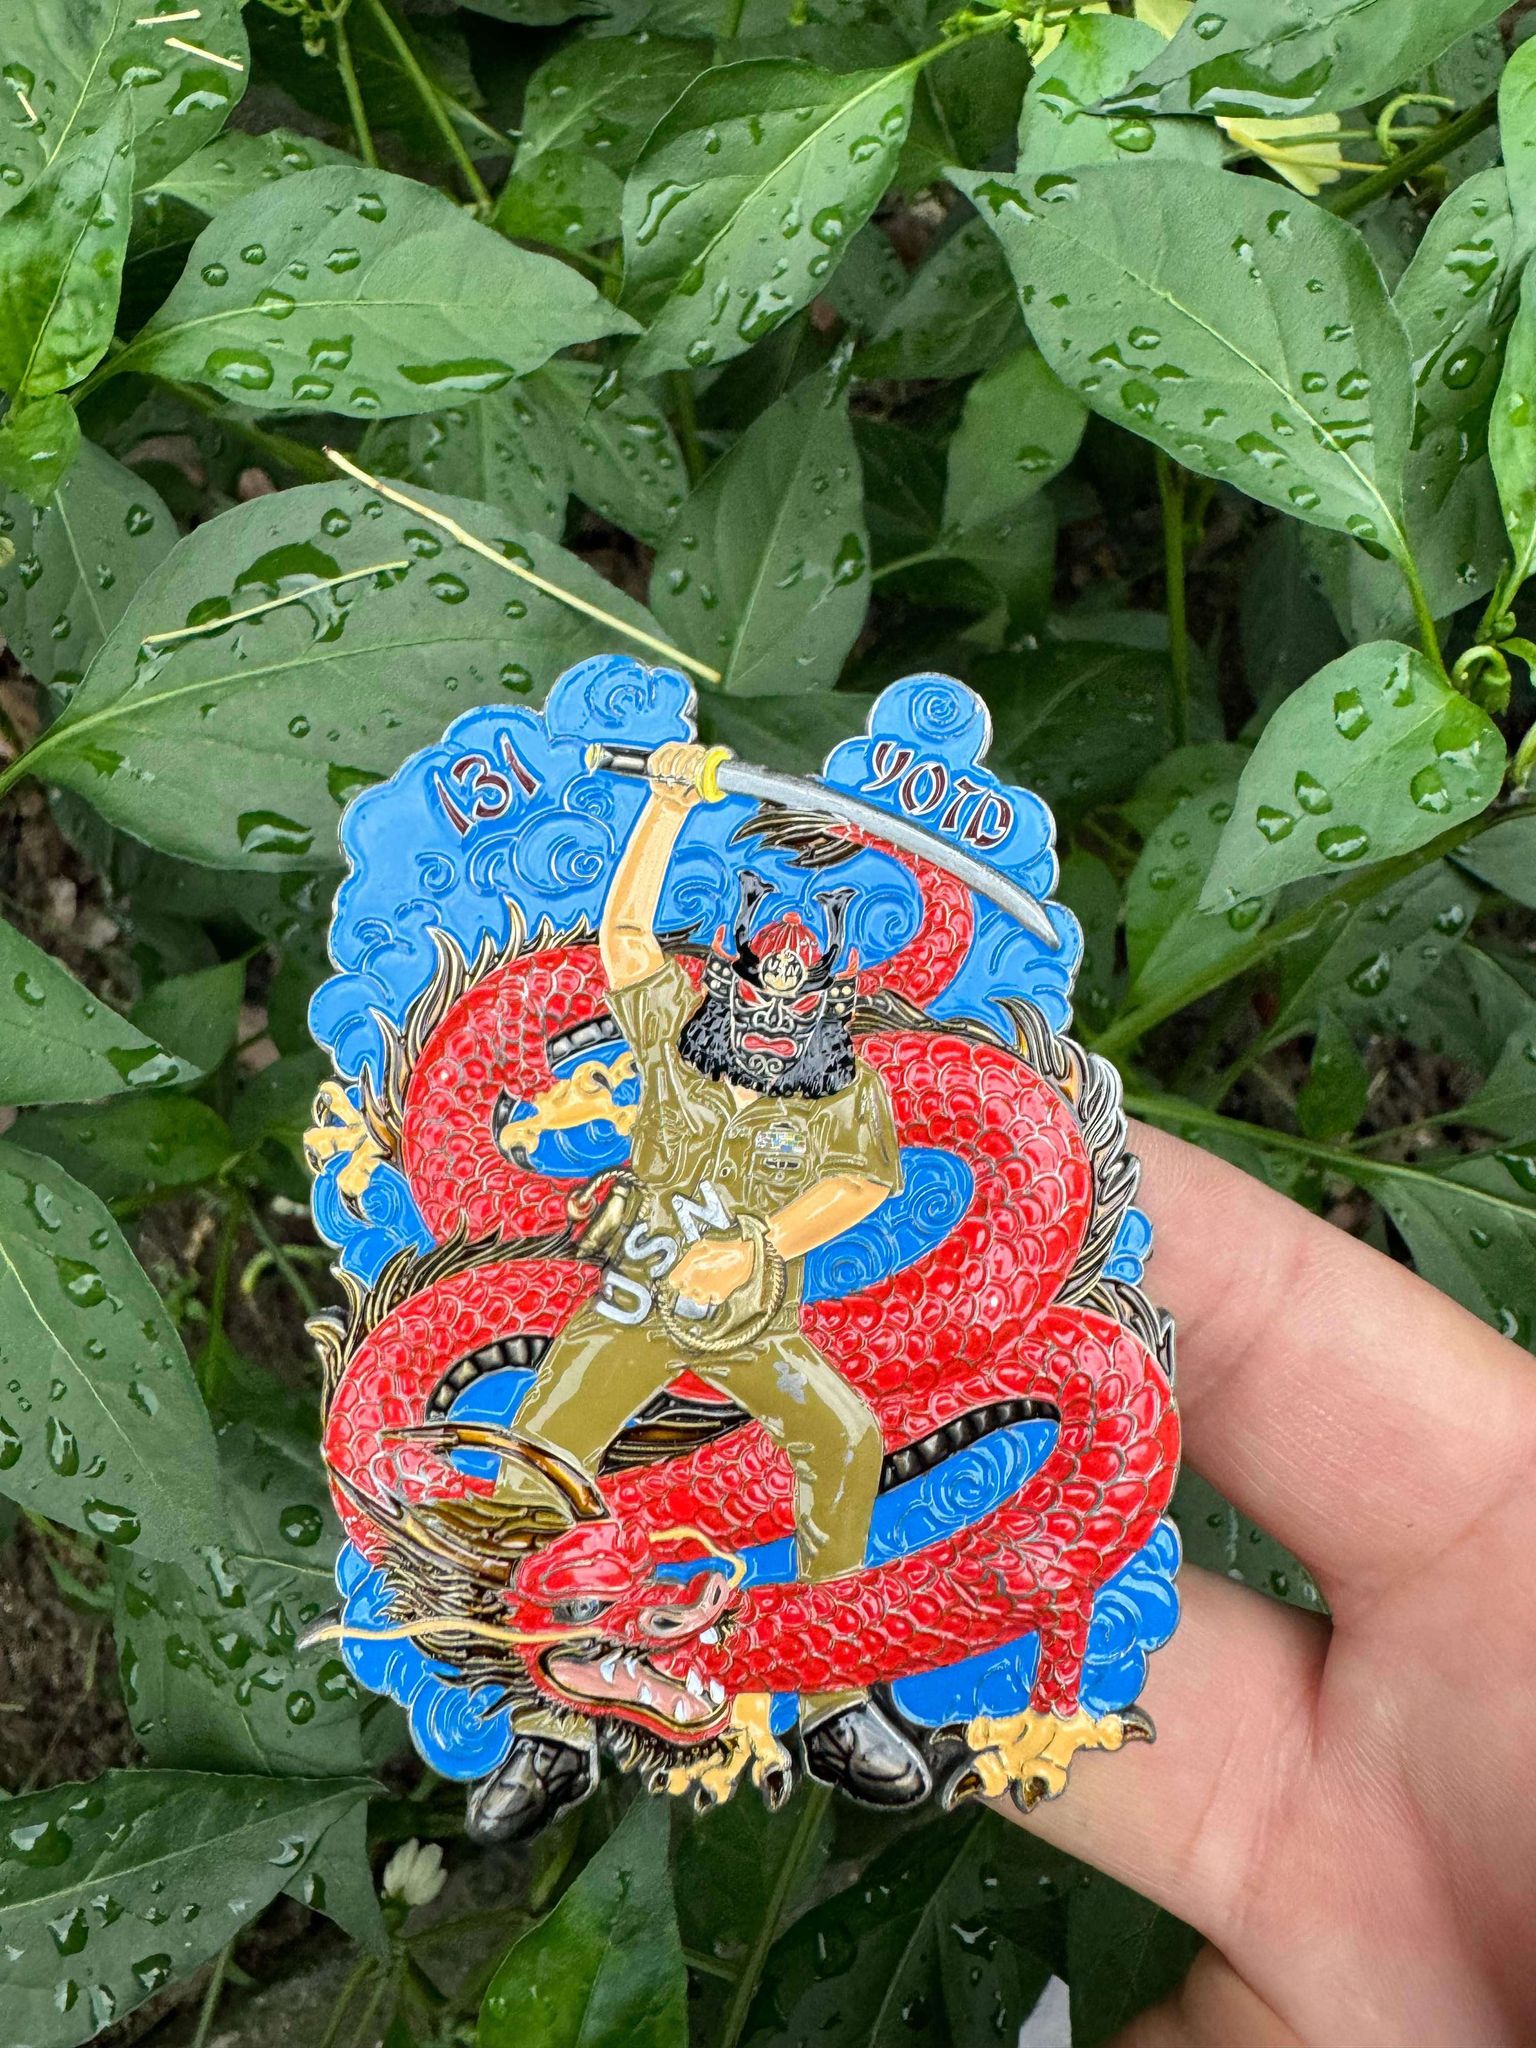
For example, a military unit can choose representative emblems, slogans, fighting spirit, etc. as design elements.
Symbolic patterns and logos
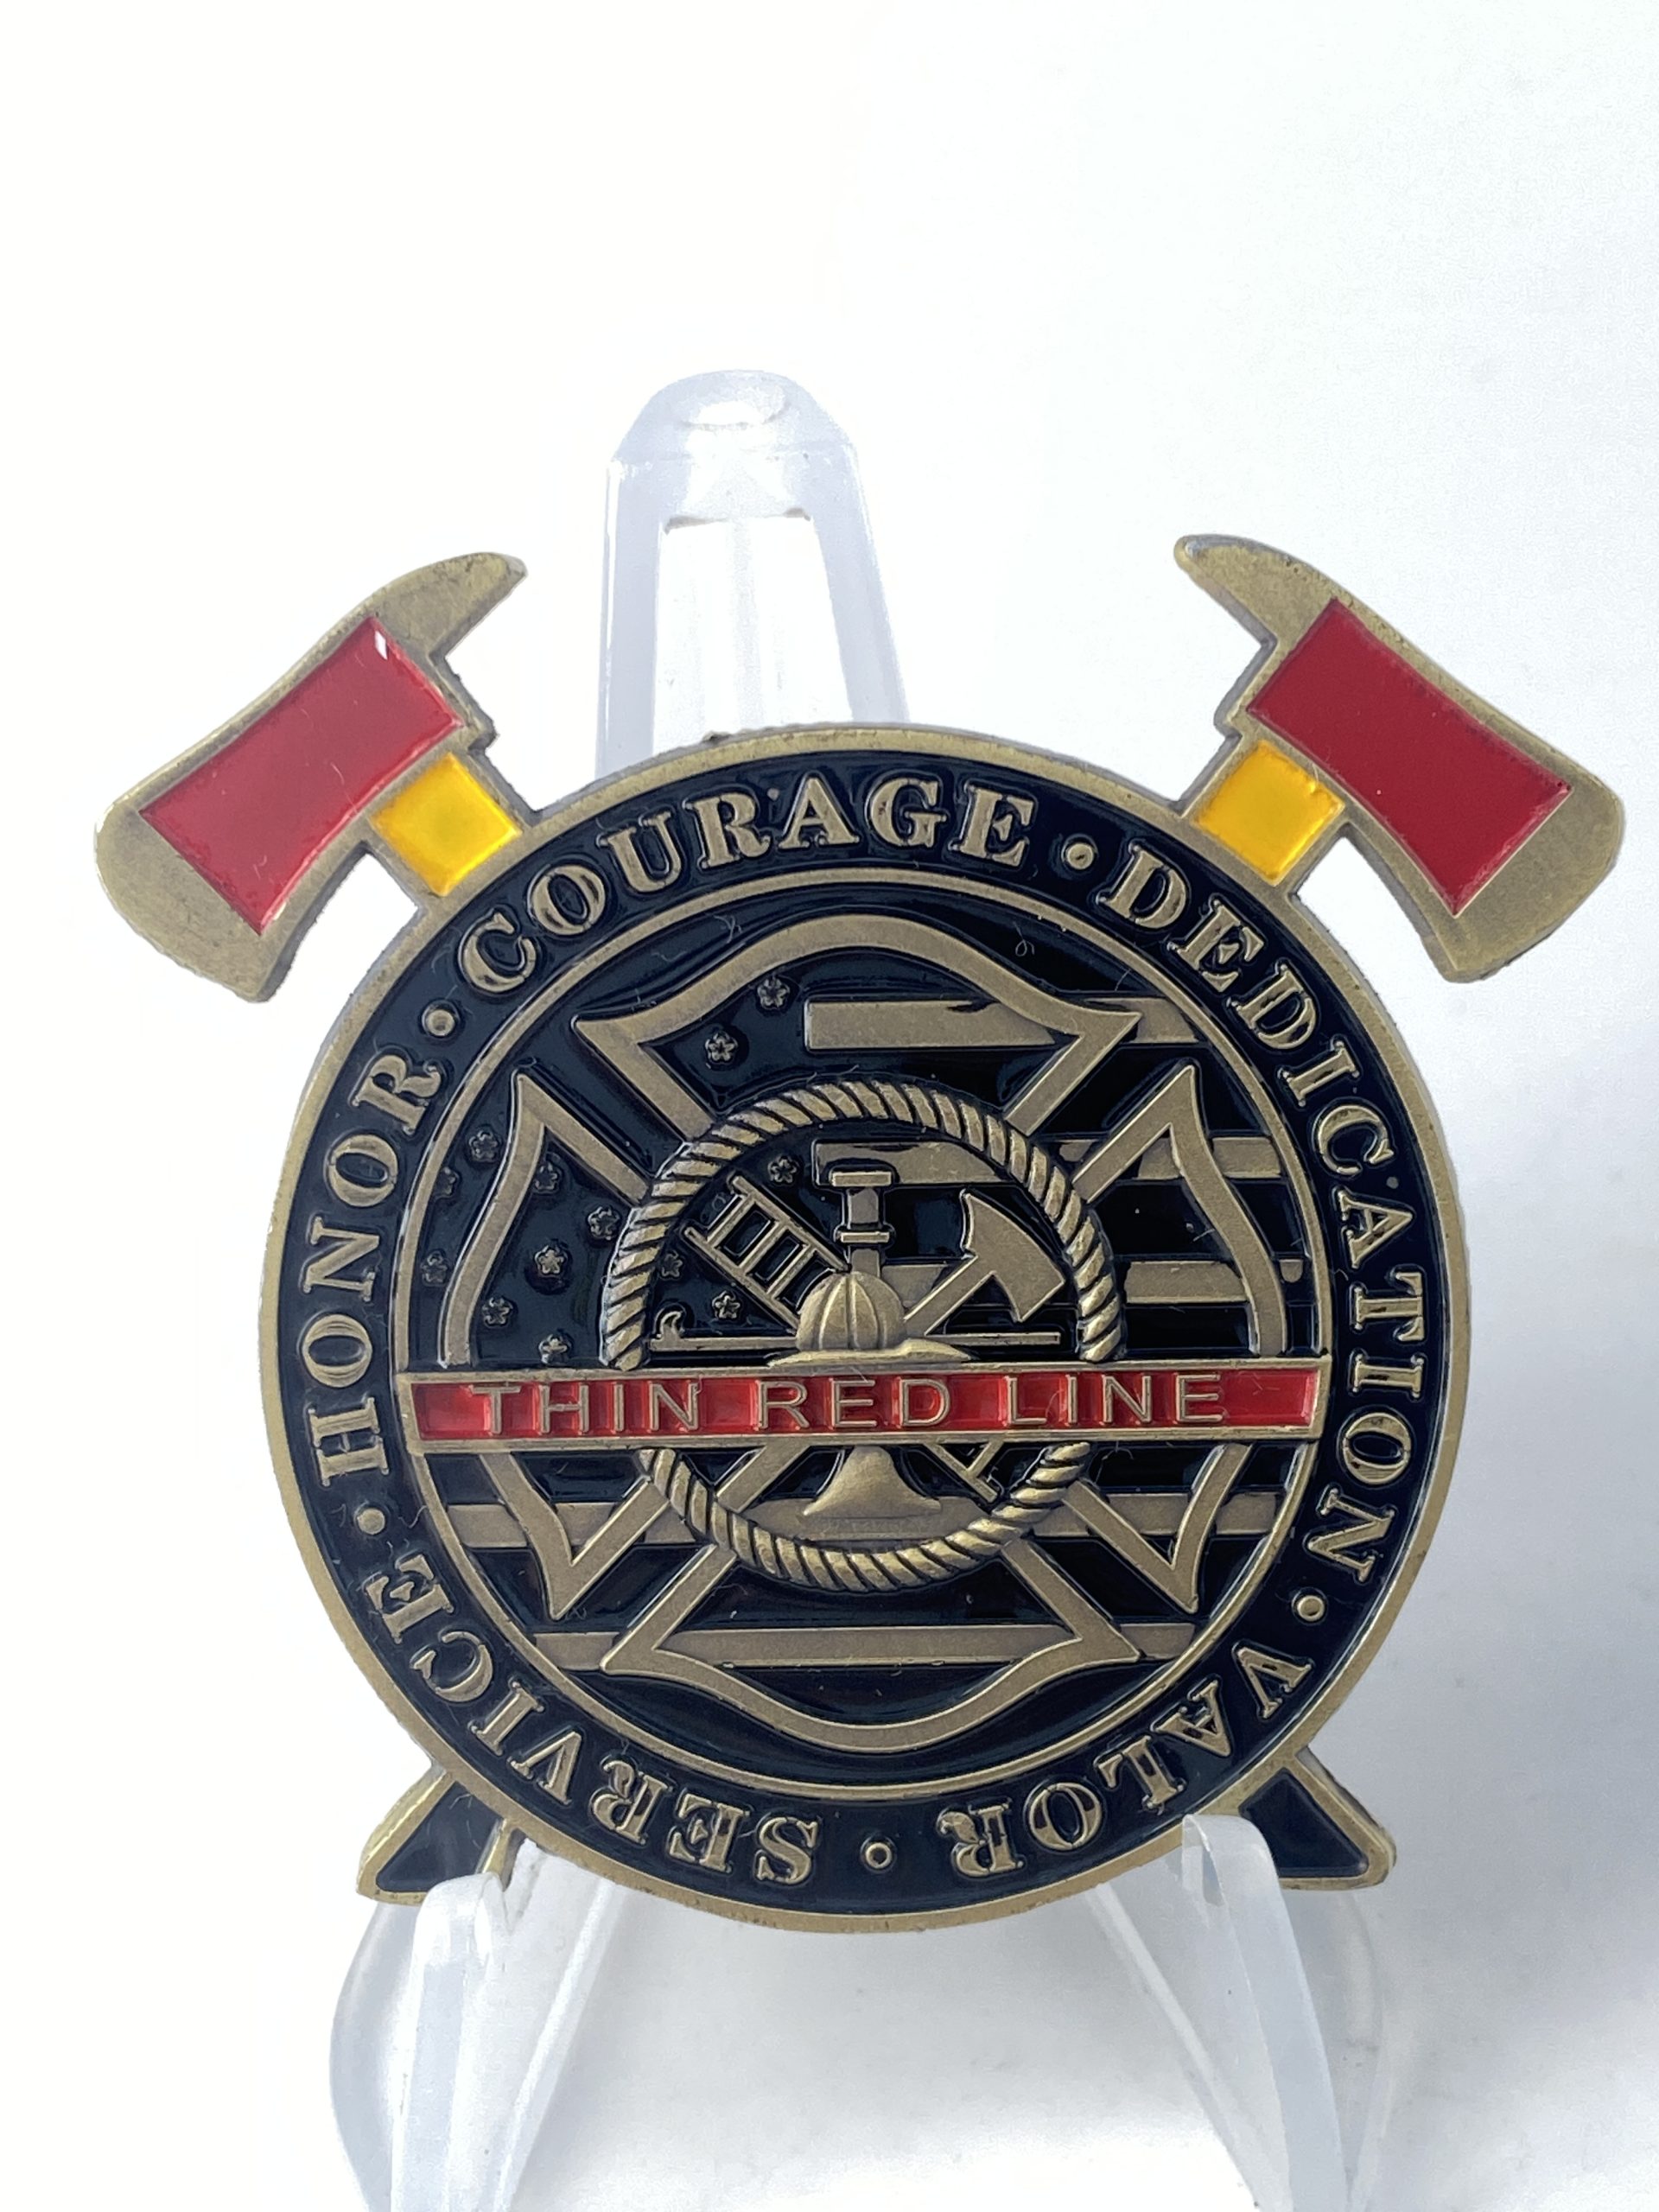
Consider using patterns, logos or colors with symbolic meanings. They can be related to the organization or event, or they can be broader symbolic elements, such as eagles representing strength, olive branches representing peace, etc.
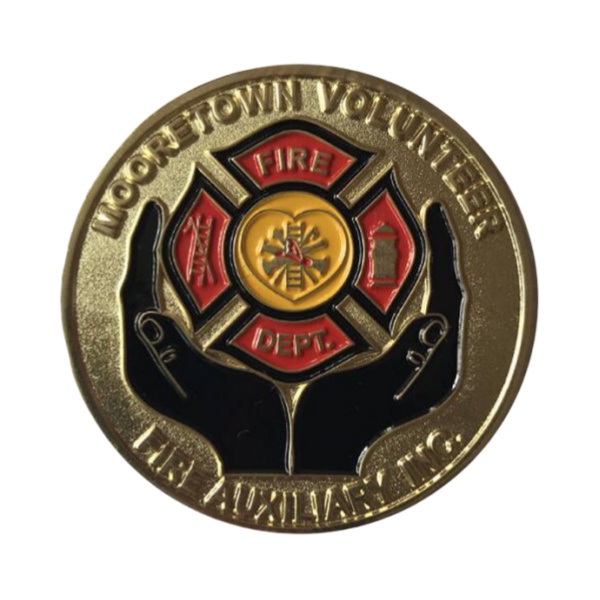
For example, a firefighter’s challenge coin can use patterns such as fire axes, fire trucks or flames.
2.Choose the Shape and Size:
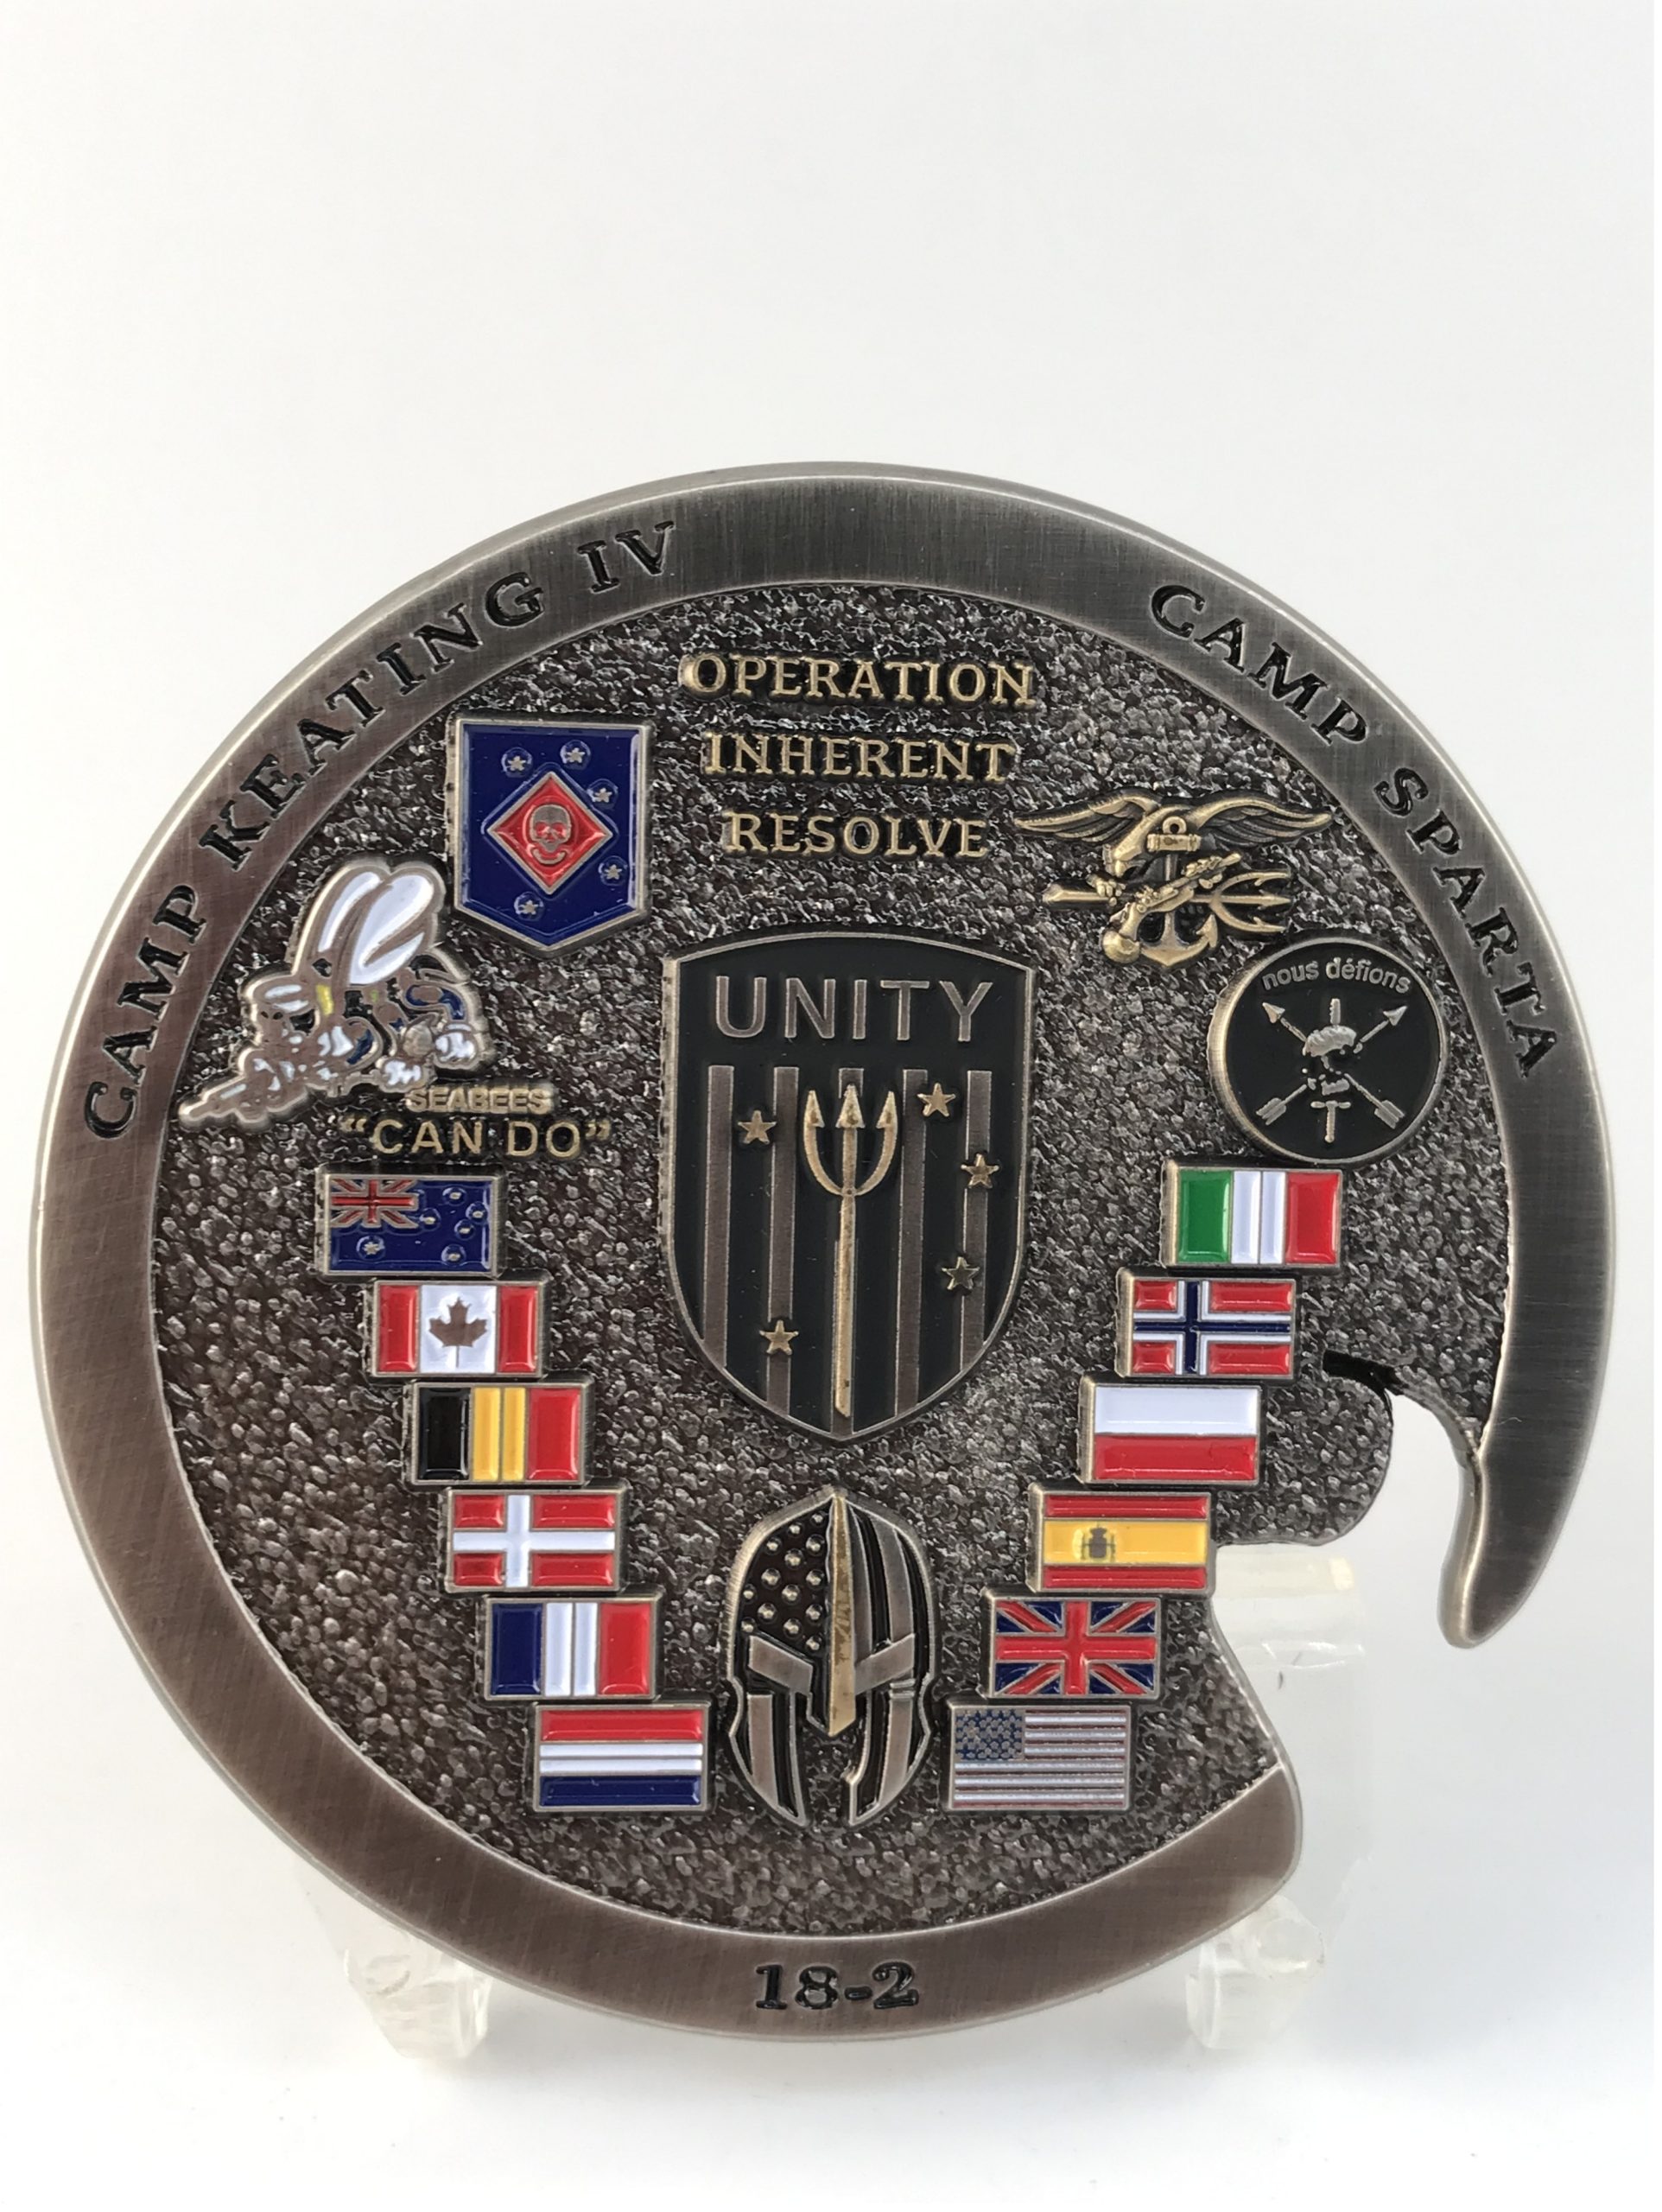
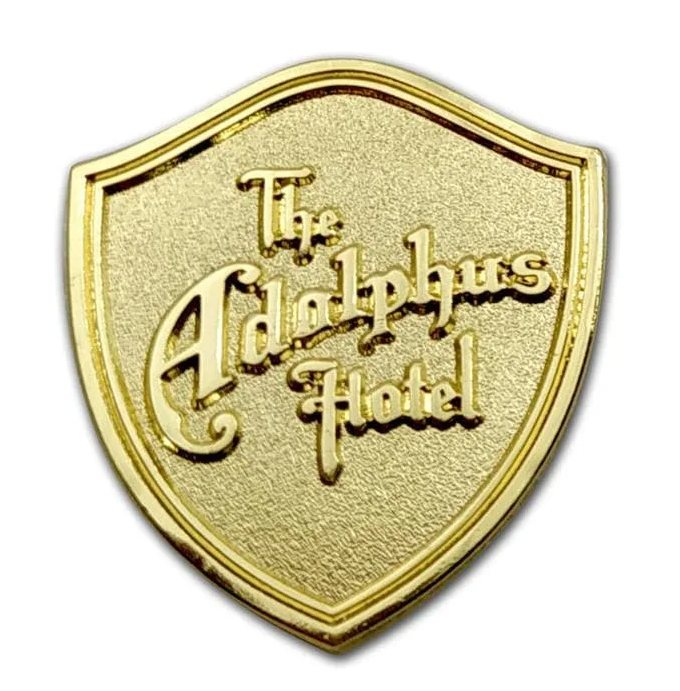
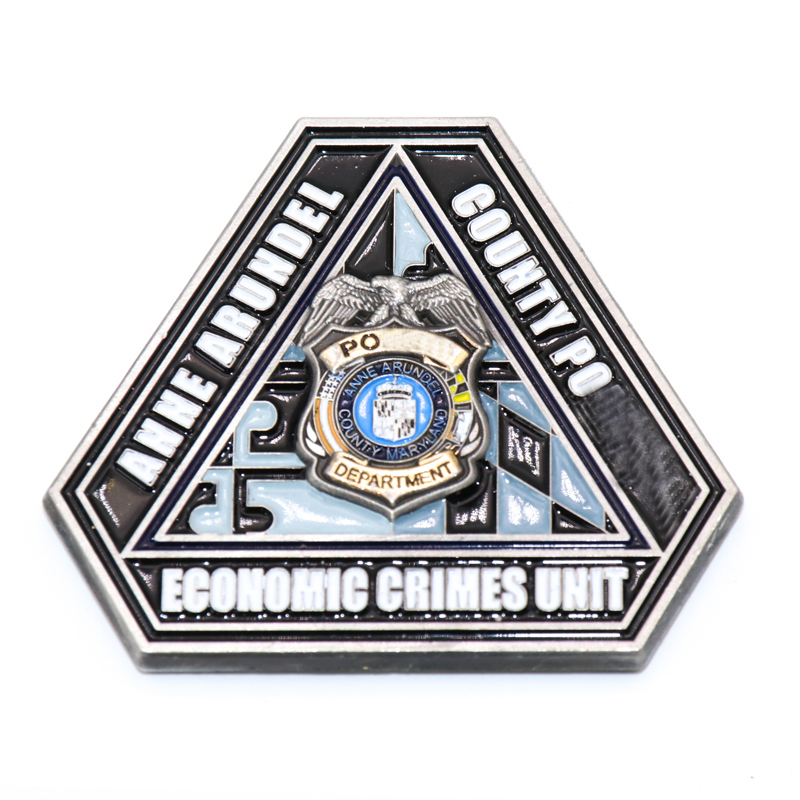
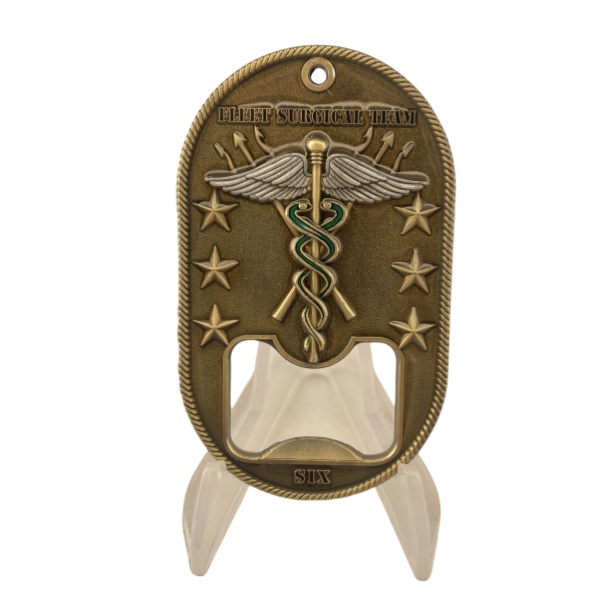
Shape: While most coins are circular, you can choose different shapes
like square, hexagon, or even custom shapes.
Size: Decide on the diameter and thickness of the coin. Standard sizes are usually designed into about 3 inch.
3.Design the Obverse (Front) Side:
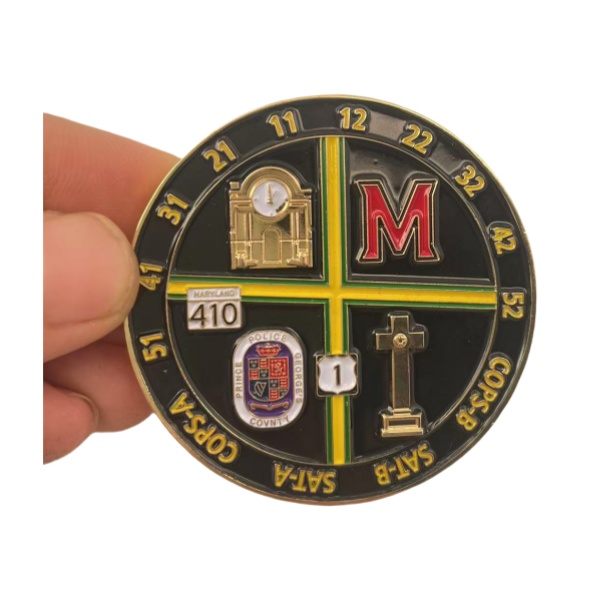
Central Image: This could be a logo, emblem, portrait, or any other significant image.
Text: Include key text like the name of the event, date, or a motto. Consider the placement and font style.
Border: You can add a decorative border, stars, or other elements around the edge.
4. Design the Reverse (Back) Side:
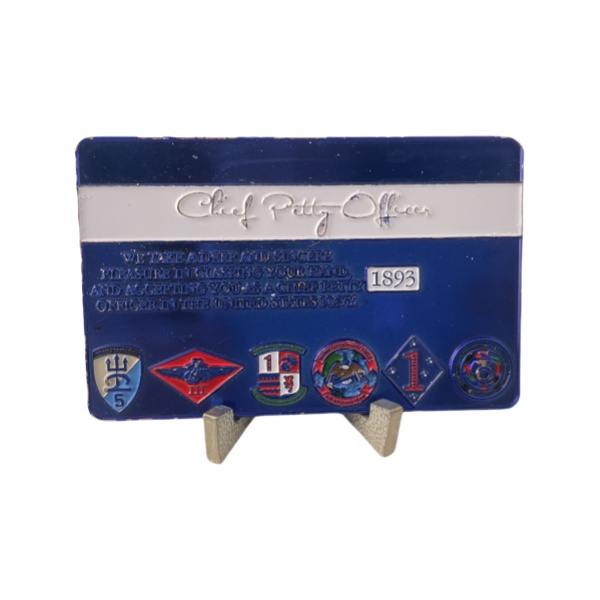
Complementary Design: This side often complements the front. It might feature another image, a detailed background, or additional text.
More Details: You can include secondary information, such as additional dates, locations, or symbols.
5. Select Materials and Finish:
Materials: Decide if you want the coin to be made from bronze, silver, gold, or other metals.
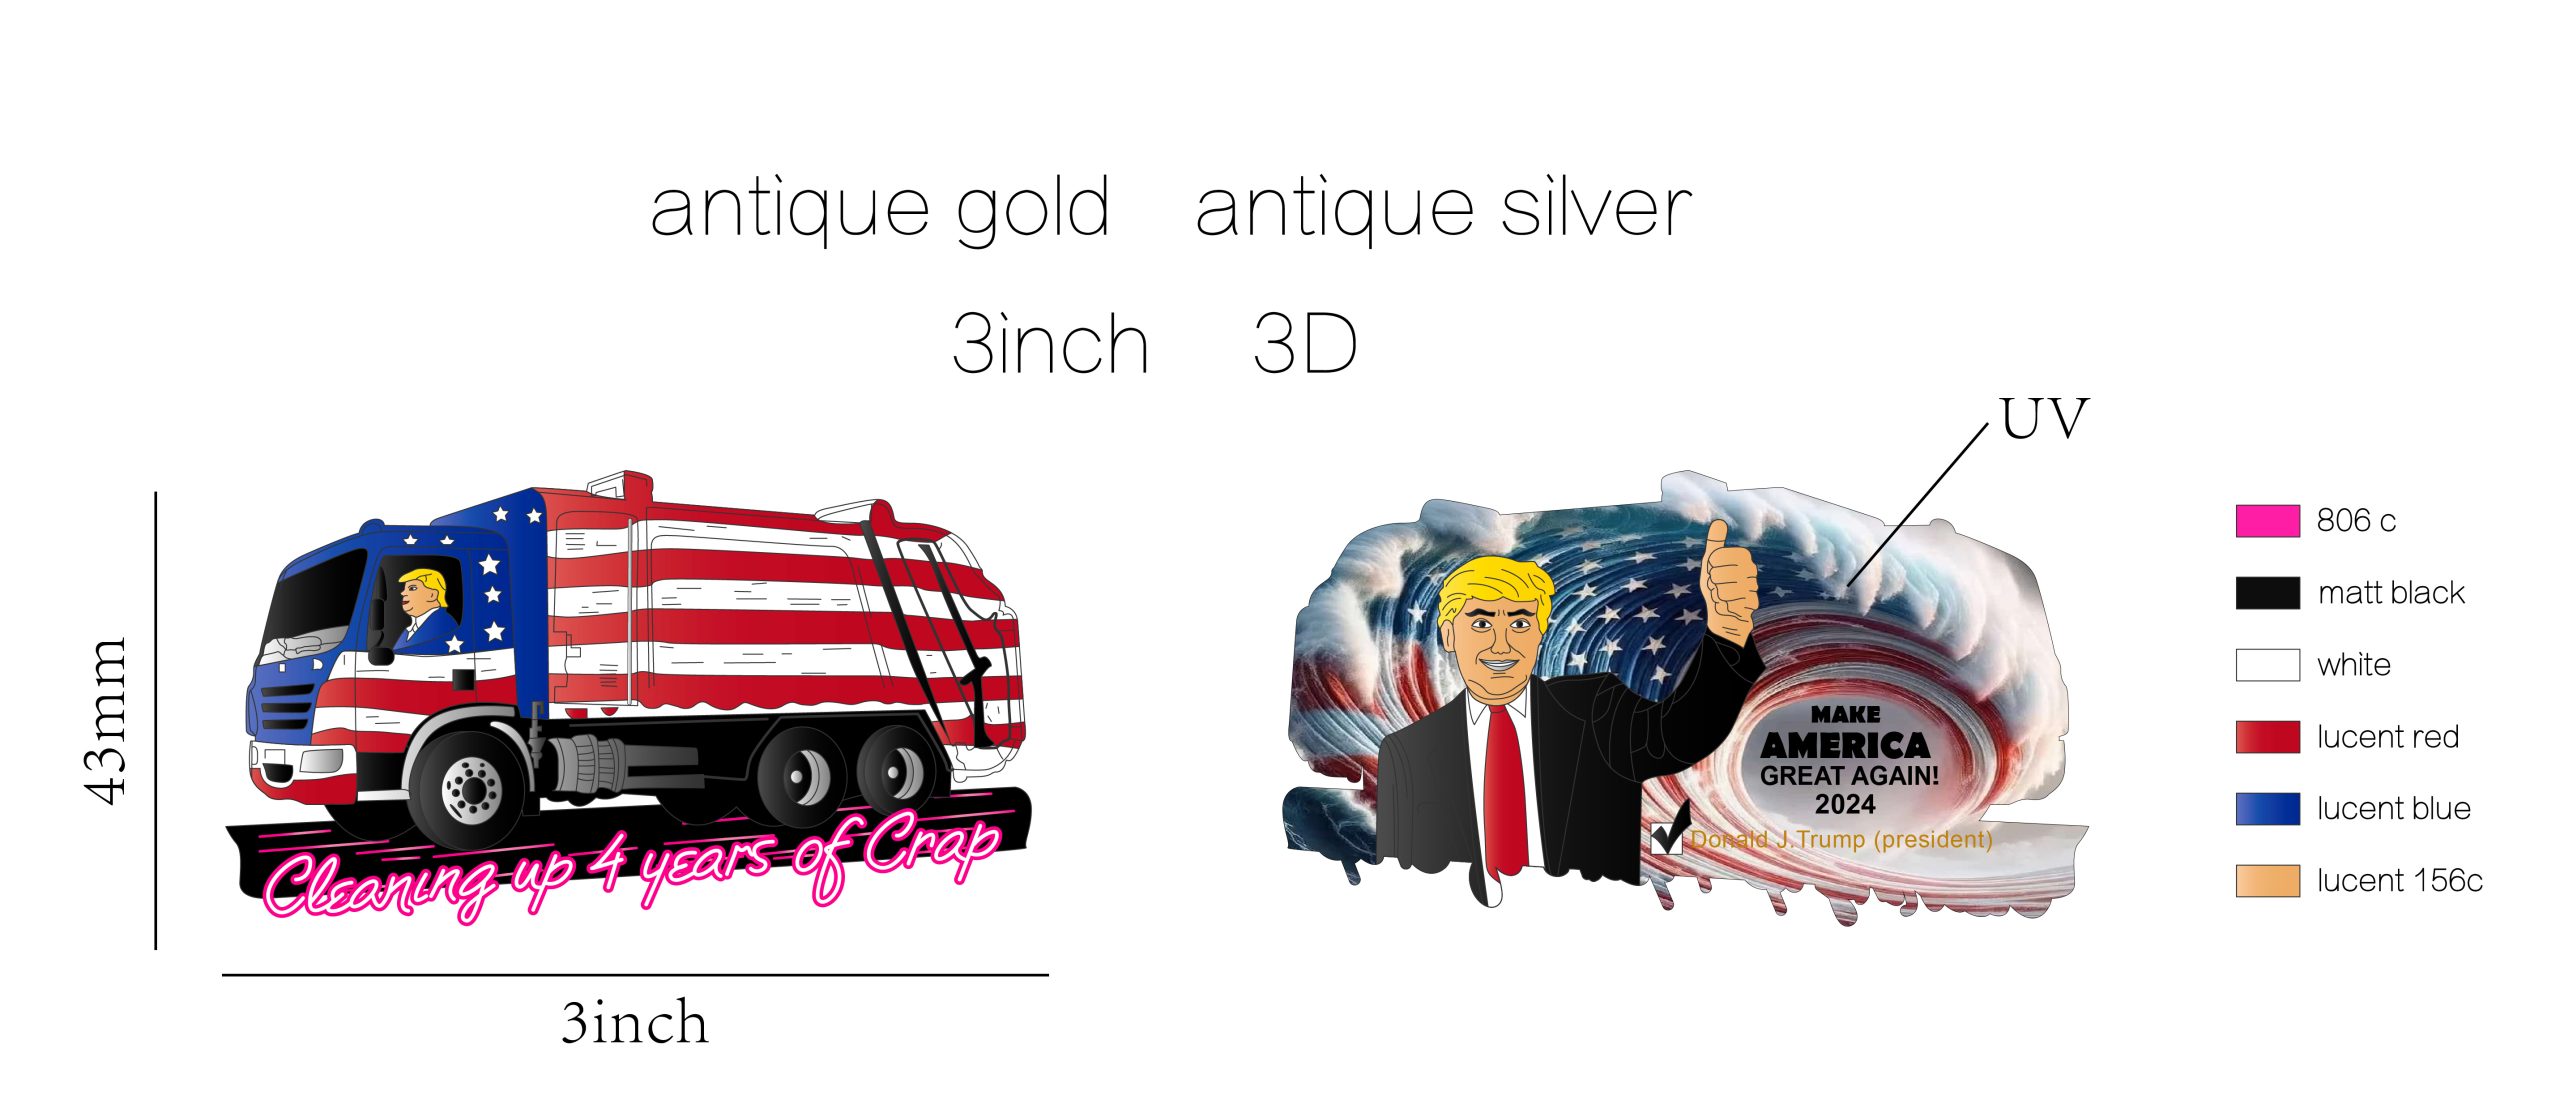
Finish: Choose between options like antique, polished, or matte. You can also add color enamel for specific areas.
6. Consider Special Features:
3D Relief: Some coins have raised or recessed 3D designs, which add texture and depth.
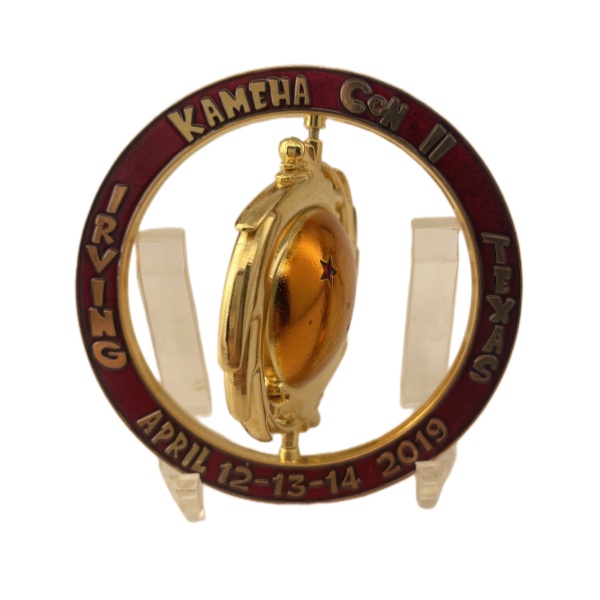
Cutouts: Incorporate cutouts or special shapes within the coin for a unique look.
Edge Design: The edge of the coin can be plain, reeded, or even engraved with text.
Designed to be wearable
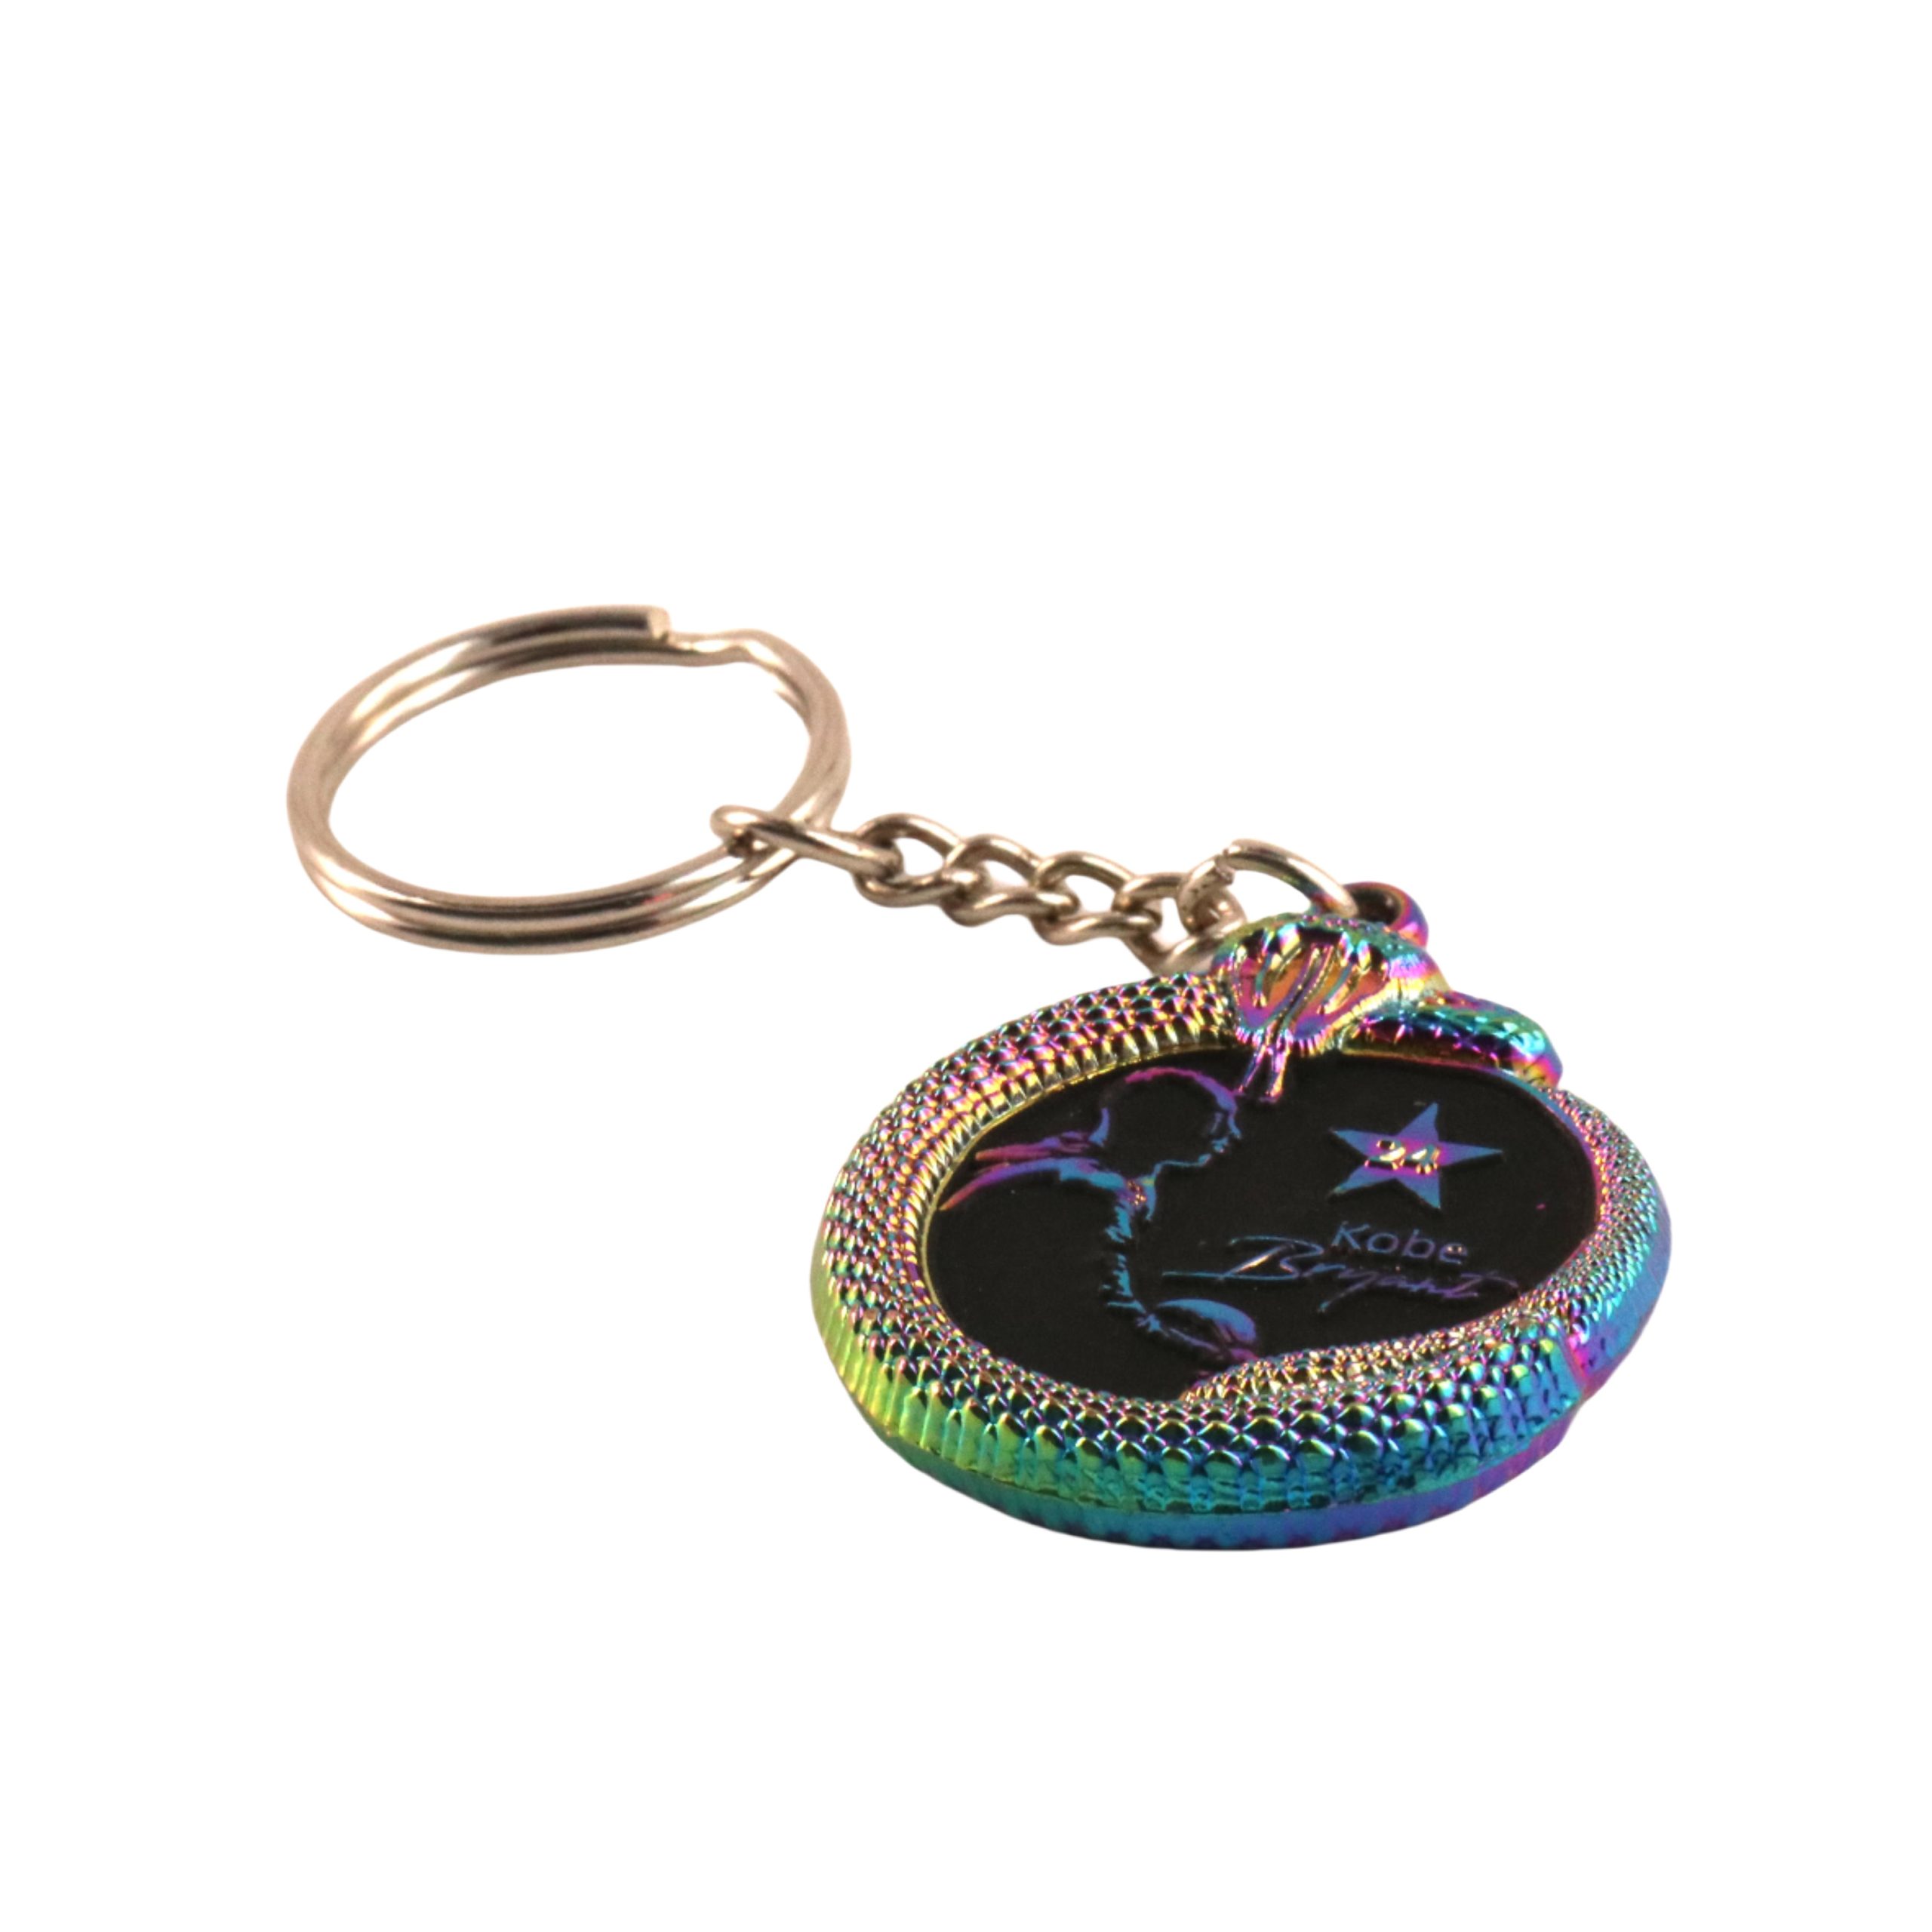
Design the challenge coin so that it can be worn as a pendant, or attach a loop to make it easy to hang on a bag, keychain, etc., so that the holder can carry it with him or display it.
multi-purpose tool:The challenge coin can be designed to be part of a multi-purpose tool, such as a small multi-purpose tool that can be used as a screwdriver, ruler, scale, etc.
7. Mock up the Design:
Sketch: Start with a rough sketch to get a visual idea.
Dgital Tools: Use design software like Adobe Illustrator, Photoshop, or even online tools to create a digital version.
8. Review and Finalize:
Get Feedback: Show your design to others for feedback and make any necessary adjustments.
Finalize the Design: Once satisfied, finalize the design with precise details and measurements.
9. Production:
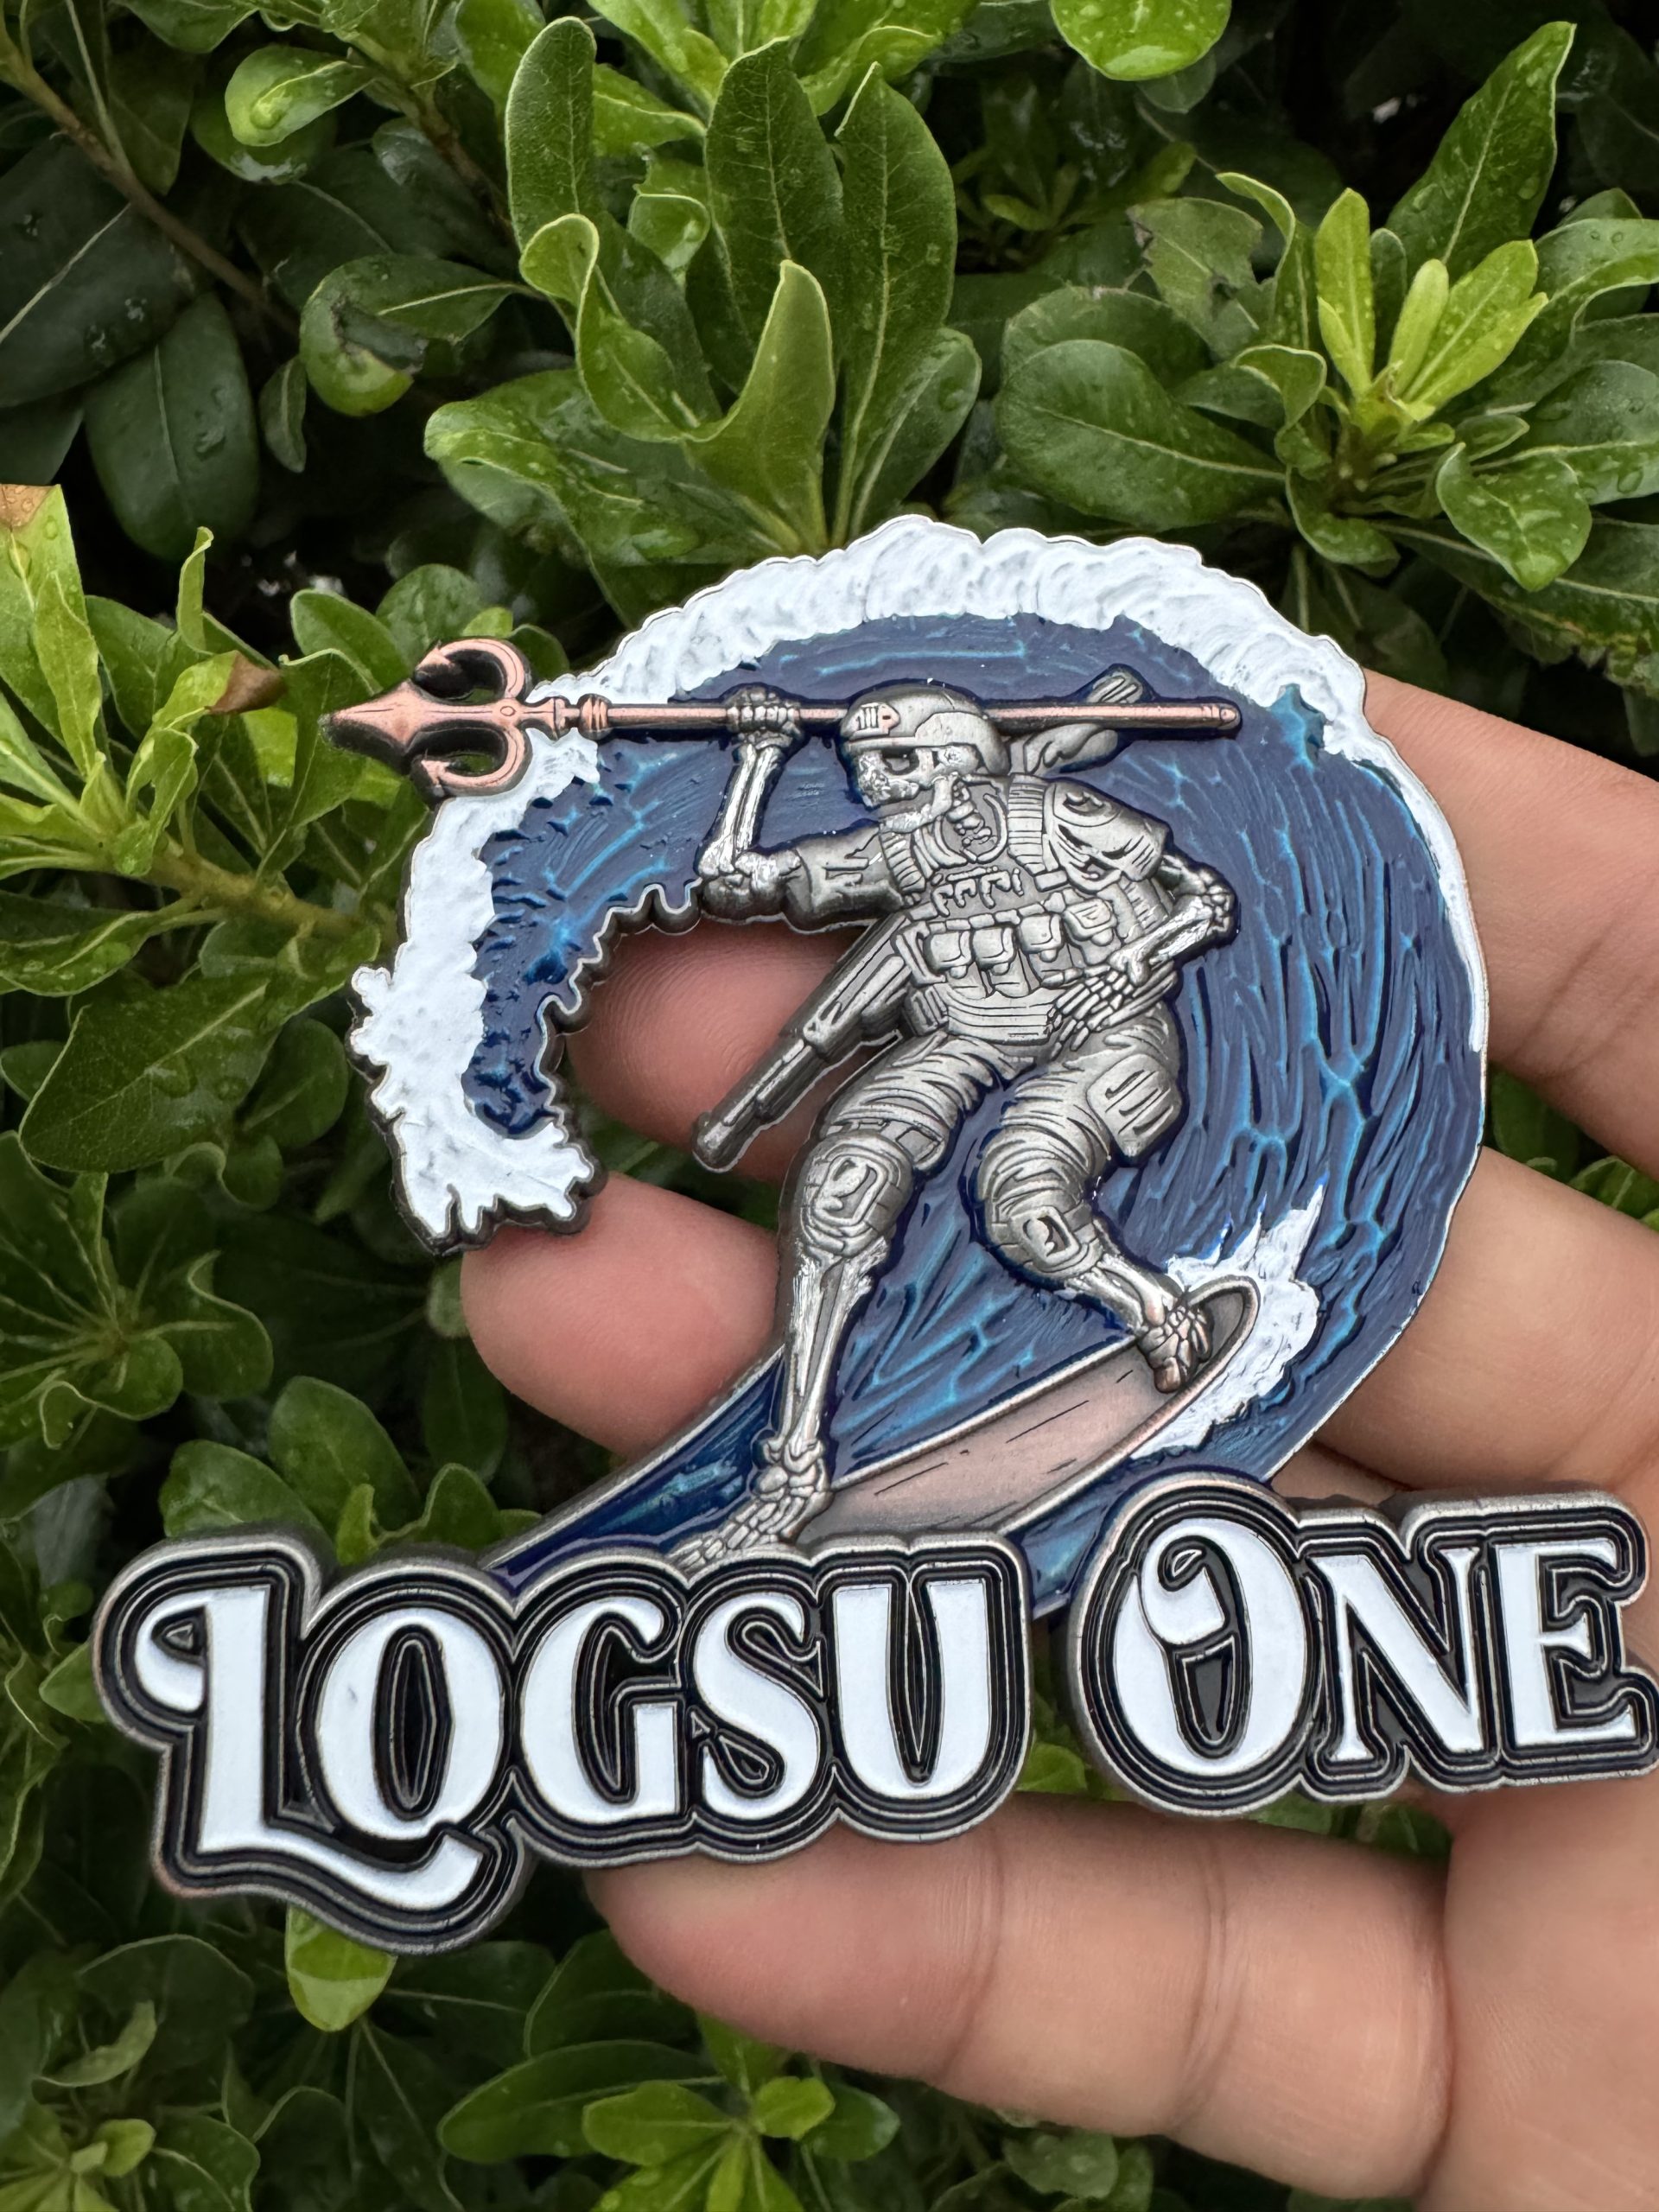
Choose a Manufacturer: Find a company that specializes in custom coin production. Provide them with your design, specifications, and preferences.
Sample and Production Run: Some manufacturers will provide a sample before producing the full batch. Review the sample to ensure it meets your expectations.
If you have specific ideas or elements you’d like to incorporate into your custom coin design, feel free to share them, and I can help refine the concept further!

